

I have a soft spot for geological oddities. Maybe it is because I grew up in a military family and was constantly learning new landscapes from scratch. Wherever we landed, I would grab a map, pick one interesting natural feature, and build a whole day around it like it was a mini vacation. These days I do the same thing, just with zip codes and a little more snack planning.
If you have ever saved “Waterfall Trail” or “Cave Entrance” as a single lonely pin, this is how you turn it into a full itinerary: a tight loop of views, short hikes, a nature center stop, and a satisfying meal that does not require driving an hour back into civilization.
Start with the zip code
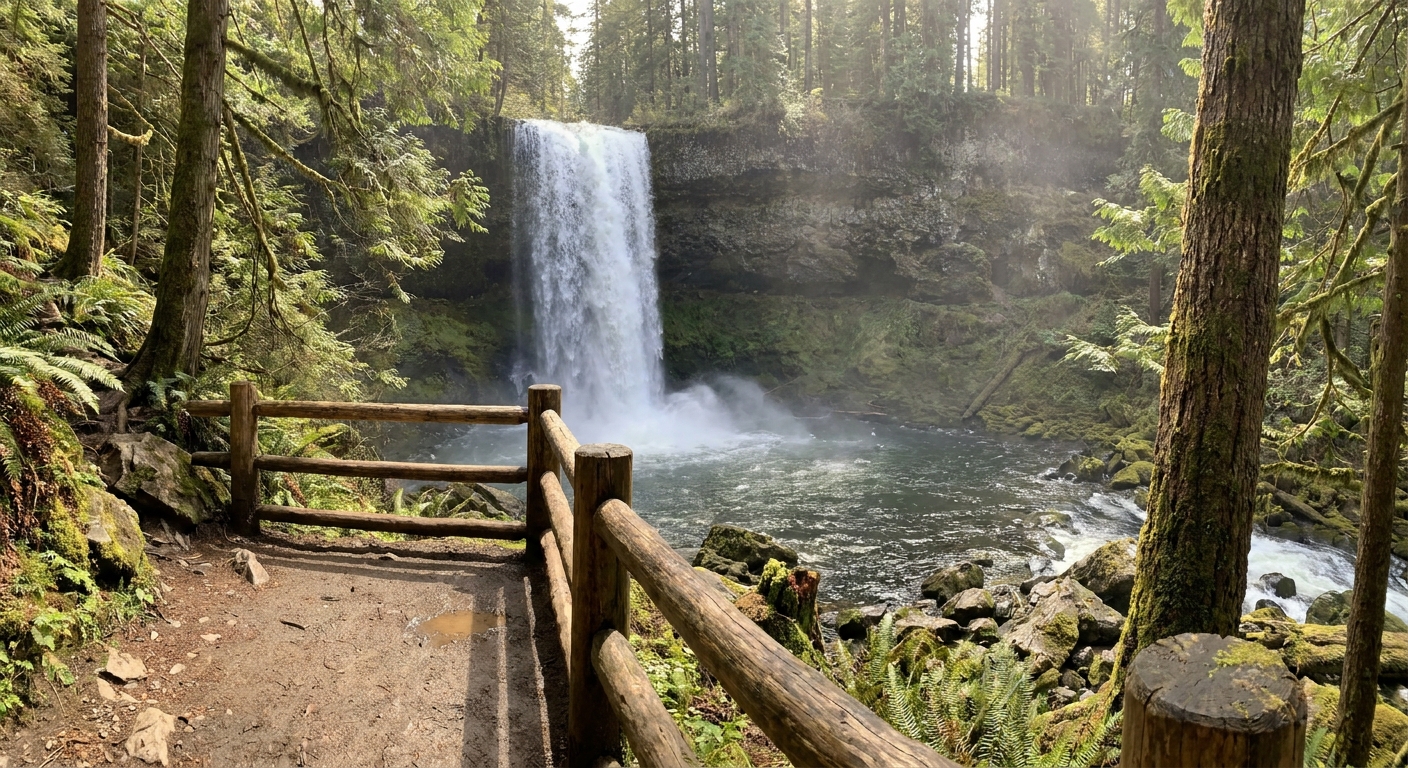
Natural sites can be messy in map apps. The “waterfall” pin might be the parking lot, the viewpoint, or a random photo someone uploaded. A fast way to get more reliable planning boundaries is to work from the zip code that contains the main access point.
- Find the access point first: look for the official parking area, visitor center, or trailhead, then confirm its zip code.
- Build your day within a tight radius: my rule of thumb is to start with a 5-mile radius from that zip code, then expand only if the area is sparse. (In mountain or rural areas, 5 miles can still mean a long drive.)
- Use the zip code as your anchor: it keeps your itinerary realistic, even if the feature itself sprawls. Just remember ZIP codes are mail-delivery zones, not perfect geographic borders, and some rural ZIPs cover a lot of ground.
If you want the exact method I use, the approach in How to Plan a 5 Mile Radius Day Trip From Any Zip Code transfers perfectly to outdoor wonders.
Pick one feature and two stops
A cave, gorge, or waterfall is your headline. The mistake is trying to stack three headline hikes in one day and ending up eating granola bars in the car. Instead, I plan:
- One big feature: the cave tour, gorge rim trail, waterfall hike, or main overlook.
- Two supporting stops: a nature center, a second viewpoint with a shorter walk, a picnic-friendly park, or a scenic drive pull-off.
- One food stop that is close: ideally on your exit route so you are not backtracking.
This structure gives you variety without turning your day into a sweaty logistics exercise.
Map a loop
Loops feel easier because you are not repeating roads and you always have the psychological boost of “new scenery.” When I sketch a loop, I think in four chunks:
- Arrival: trailhead or visitor center parking
- Exploration: your primary hike or tour
- Recovery: short, flat stop like a boardwalk, nature center, or riverside park
- Reward: food and a final quick view, then head home
If your map insists on a line, force a loop by adding a second access point. Many gorges and waterfalls have separate “upper” and “lower” trailheads or an alternate overlook road. That is your loop-maker.
Next comes the fun part: tailoring the day to the kind of feature you picked. Caves, gorges, and waterfalls each have their own little quirks that can make or break the vibe.
Caves
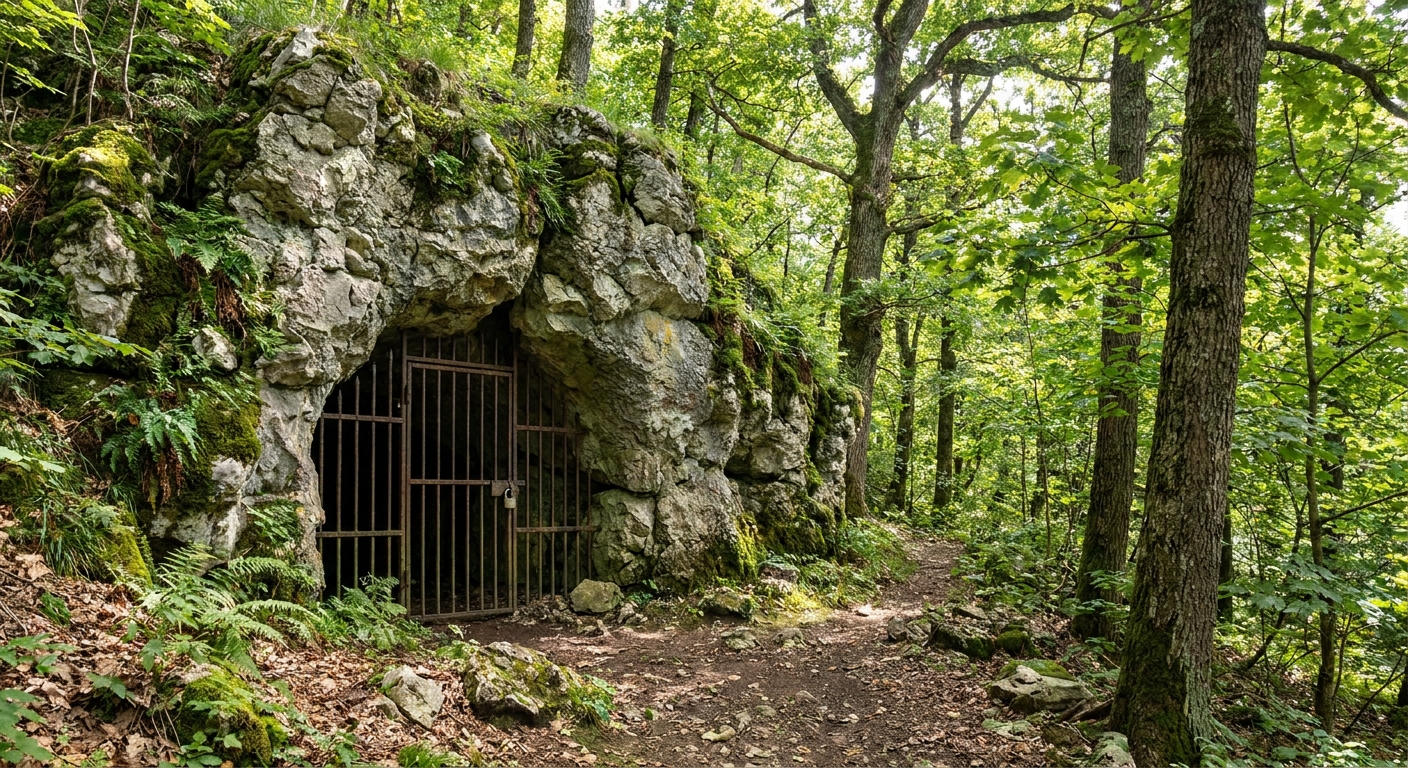
Caves are my favorite “surprise” stop because they feel like a whole other climate. They also come with their own planning quirks.
What to check
- Tour schedule: many show-caves run timed tours, sometimes only on weekends or in limited seasons.
- Temperature: caves often sit around 50 to 60°F year round, depending on region. Bring a layer even if your car thermometer says 90.
- Stairs and surfaces: expect damp steps, low ceilings, and uneven footing. Shoes with grip beat sneakers with smooth soles.
- Closures for wildlife protection: some caves close seasonally to protect bat populations. Check official land manager pages before you drive.
- Fees and permits: tours and parking can have admission fees, reservations, or capacity limits. I check this early so it does not ambush the timeline.
- Accessibility: many caves involve lots of stairs and tight passages. If anyone in your group needs step-free routes, check the cave’s accessibility details before you commit.
How to build the day
- Pair with a rim or ridge walk: after a cave, I like an easy open-air trail to reset my bearings.
- Add a nature center or geology exhibit: interpretive displays make the cave feel more meaningful, especially with kids.
- Keep the food stop casual: caves can run you late. Choose a diner, taco spot, or sandwich counter you can slide into without a reservation.
Gorges
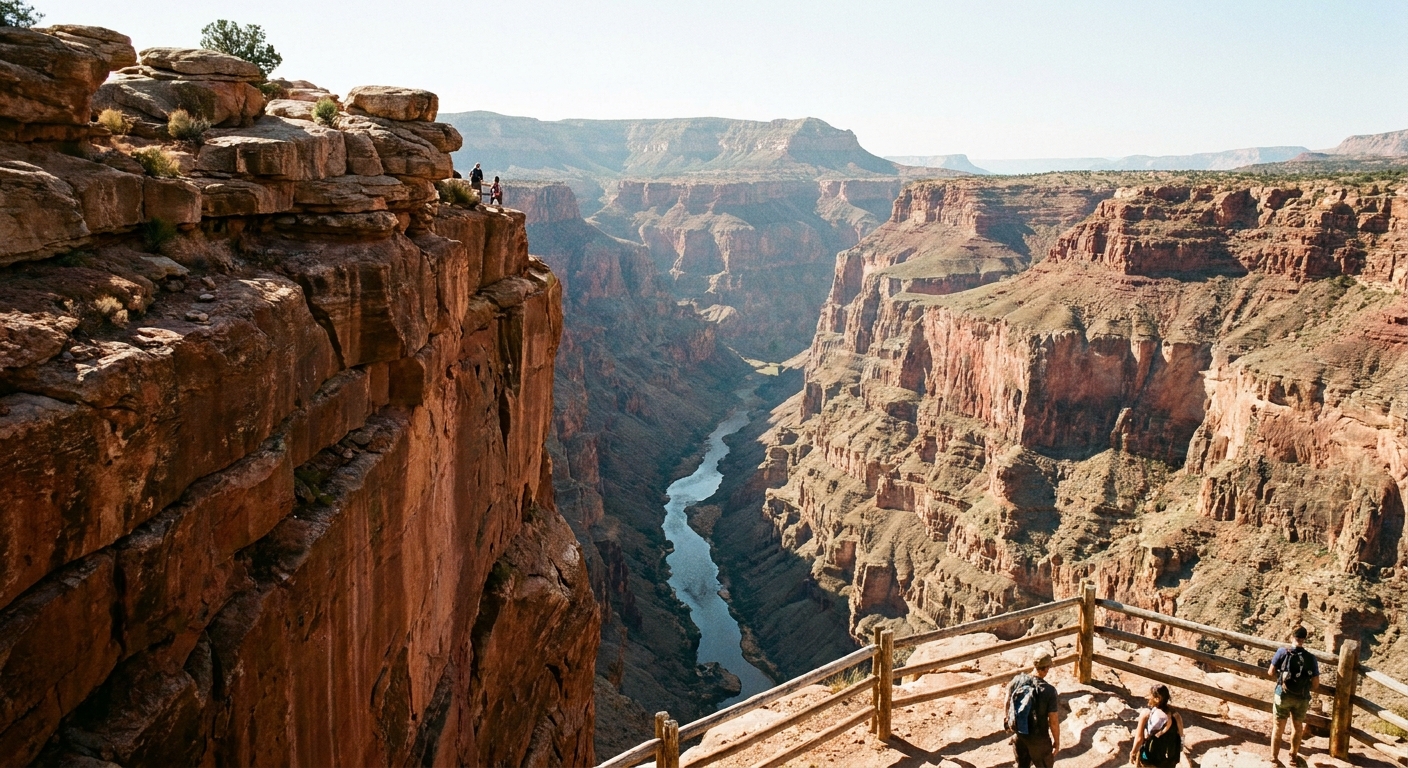
Gorges are the easiest place to accidentally over-hike because every overlook sign looks like it is “just a quick walk.” My rule is simple: pick one committed hike, then treat everything else like dessert.
A gorge day that feels full
- Morning: one longer trail, either rim-to-river or a full rim segment
- Midday: picnic at a designated area or a nearby park
- Afternoon: two short overlooks with minimal elevation change
- Late afternoon: scenic drive or historic marker stop on the way to food
If you like layering quick history stops into outdoor days, you will get along with Find Historical Markers by Zip Code. Gorge regions tend to be loaded with old rail lines, bridges, and flood stories.
Waterfalls
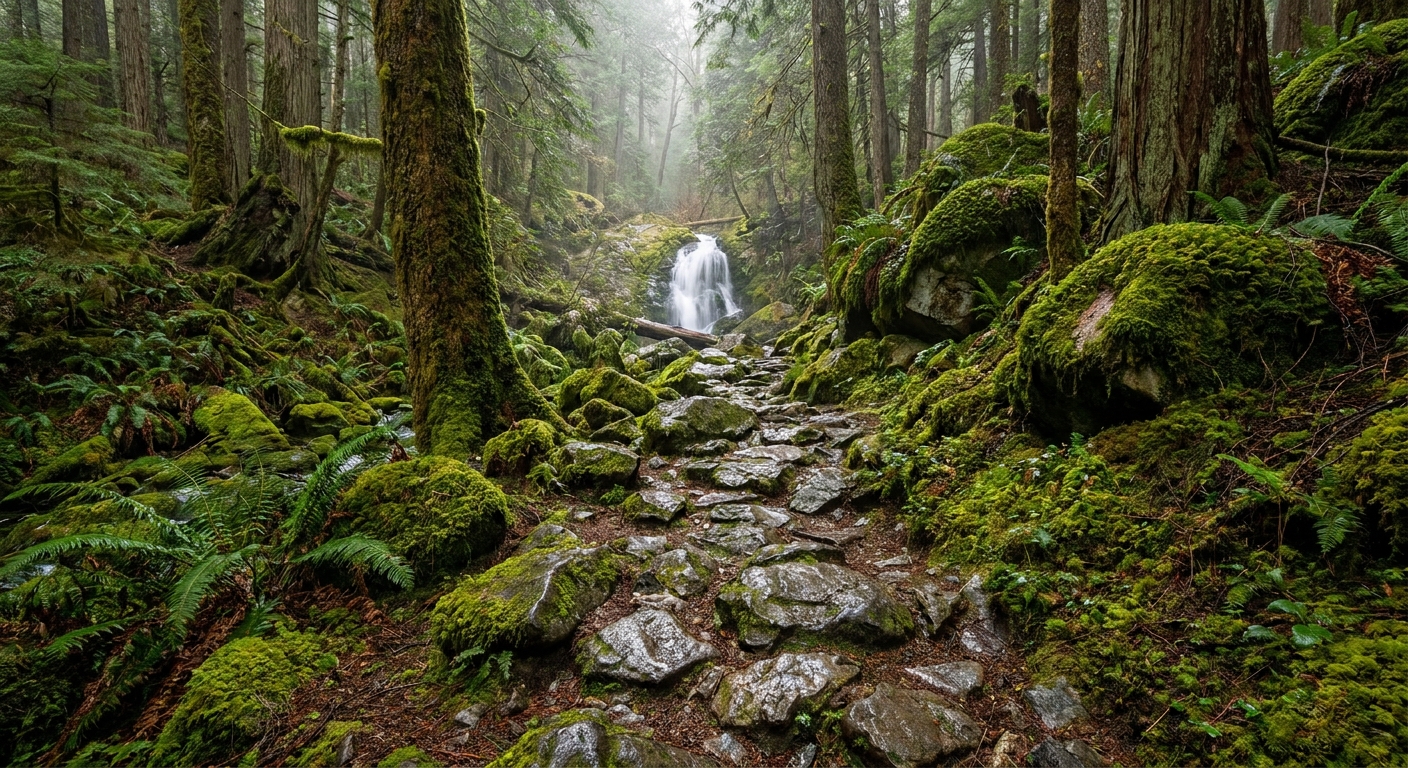
Waterfalls are moody. The same trail can feel magical after rain and underwhelming during a dry spell. A little planning makes a big difference.
My waterfall checklist
- Go early if it is popular: parking fills fast, and crowded overlooks are not the vibe.
- Chase good light: morning light is often better in shaded ravines. Afternoon can blow out photos if you are facing west.
- Check water conditions: avoid swimming holes after heavy rain, and be cautious around slick rocks.
- Bring traction: waterfall trails love mud, roots, and wet stone.
- Fees and reservations: some trailheads require day-use passes, timed entry, or paid parking during peak seasons.
- Accessibility: waterfall paths range from paved overlooks to steep, rooty scrambles. I always check distance, grade, and surface if I am planning for mixed ages.
Make it a full day
- Add a second, smaller cascade: find a nearby “falls” or “riffles” pin in the same zip code for a short bonus walk.
- Find a boardwalk trail: it balances out a steep waterfall hike and is usually kid-friendly.
- End at a local treat: ice cream, bakery, or coffee makes an excellent “we did it” stop.
Find hikes and nature centers
Once I have the anchor zip code, I build out the supporting stops in a predictable order so I do not fall down the internet rabbit hole.
- Search for the managing agency: state park, national forest, county park, land trust. Official sites usually have the best trail and closure info.
- Look for “nature center” and “visitor center” pins: these often have restrooms and interpretive trails.
- Add one low-effort scenic stop: overlook, picnic area, or short loop under 1 mile.
- Then find food last: because you want the meal to fit your route, not the other way around.
For more general attraction planning, the main hub at Attractions is where I keep my best itinerary building tricks.
Safety and etiquette
I am all for adventure, but caves, gorges, and waterfalls are the places where “quick detours” can turn serious. A few practical norms keep everyone safer.
- Stay on trail near cliffs: gorge rims can be unstable, even when they look solid.
- Do not climb wet rock at waterfalls: it can be slick in ways you cannot see until you are already sliding.
- Respect cave gates and closures: they are usually there for wildlife protection and safety, not to ruin your fun.
- Pack out your trash: snack wrappers travel fast in windy overlooks.
- Know your daylight: ravines often get dark earlier than nearby ridgelines. Start your longest hike first.
- Use Leave No Trace basics: stay on durable surfaces, keep noise down, and leave what you find so the next person gets the same wow moment.
A geology day plan
Use this as a plug-and-play structure for any zip code that contains a cave, gorge, or waterfall access point.
Morning
- Arrive at the main trailhead or visitor center right after it opens
- Do your longest hike or timed cave tour first
Midday
- Picnic at a designated area or nearby park
- Quick nature center visit for exhibits, maps, and an easy interpretive loop
Afternoon
- One short “bonus” view: overlook, small cascade, or ridge walk
- Optional quirky detour if it is truly on the way
Evening
- Late lunch or early dinner in the same zip code or the next zip code over
- One last scenic pull-off for golden hour if your route allows
If you want to add a delightfully odd roadside stop without derailing the day, I have a whole playbook in Mapping Quirky Roadside Attractions by Zip Code.
What to pack
- Layers: especially for caves and shaded gorges
- Real shoes: grippy soles, not smooth lifestyle sneakers
- Water and salty snacks: you will sweat even when it is cool in the ravine
- Small towel or bandana: for muddy hands, wet benches, or waterfall mist
- Offline map: many gorge corridors have sketchy signal
- Headlamp: useful for caves, late hikes, and searching your car for the keys you swore you put in your pocket
FAQ
Can I do a cave and a waterfall in the same day?
Yes, as long as one of them is short. My favorite combo is a timed cave tour in the morning and a waterfall hike in the afternoon, with a nature center or picnic stop between.
How far should I drive between stops?
For a true “micro-trip,” my rule of thumb is 10 to 25 minutes between stops. If you are pushing 45 minutes repeatedly, your day becomes a road trip. Still fun, just a different plan. If you want that style, start with Road Trips.
What if the landmark pin is in the wrong place?
Use the parking lot or official trailhead as your anchor and build from there. Natural features are not address-friendly. Access points are.