
I grew up bouncing between towns on military moves, which meant I got very good at landing somewhere new and immediately asking one question: where is the best view? Not the famous one with tour buses. The sneaky pull-off, the small tower behind the visitor center, the ridge that locals hit at sunset with a thermos and a folding chair.
The good news is you can find those views almost anywhere. You just need two tools: a ZIP code and a topographic map mindset. Here is how I build an entire day trip around scenic overlooks and observation decks, with plenty of time for photos, a picnic, and at least one quirky detour.
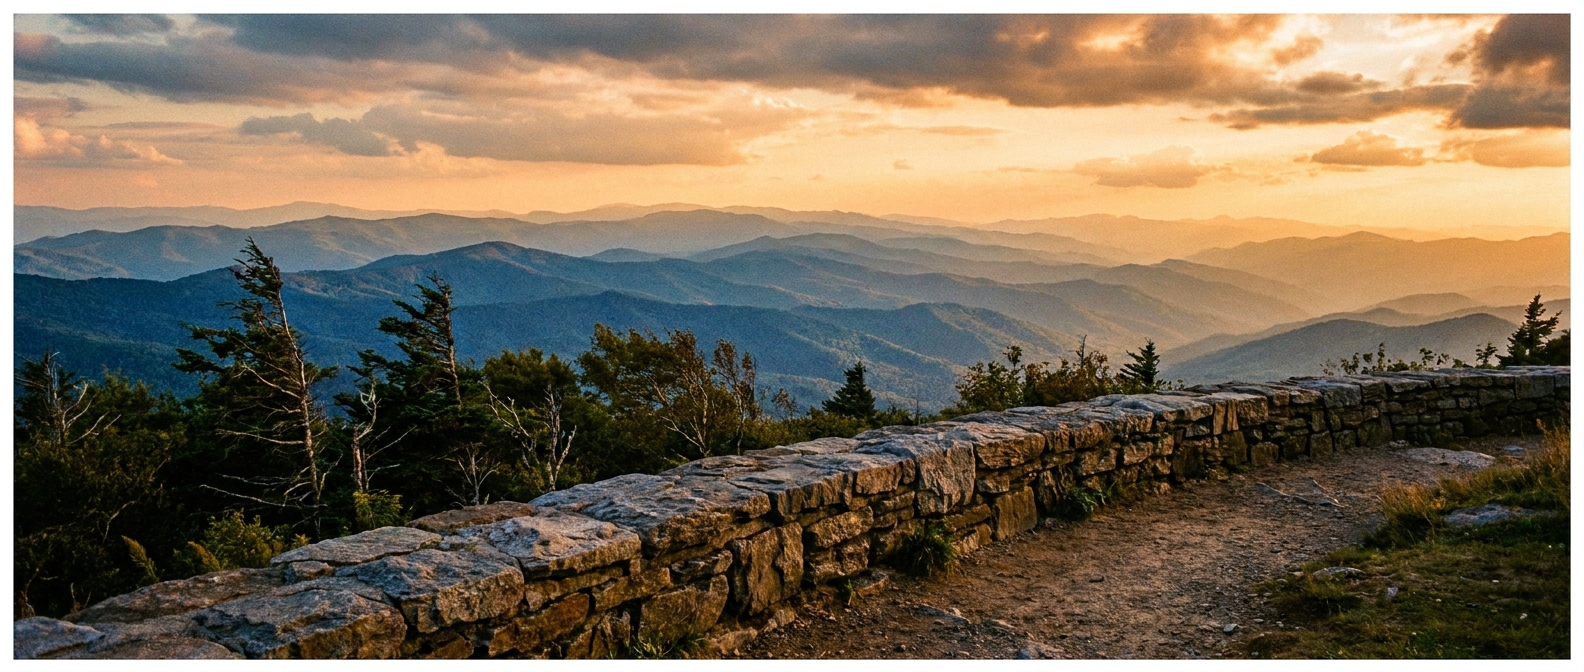
What makes a great overlook
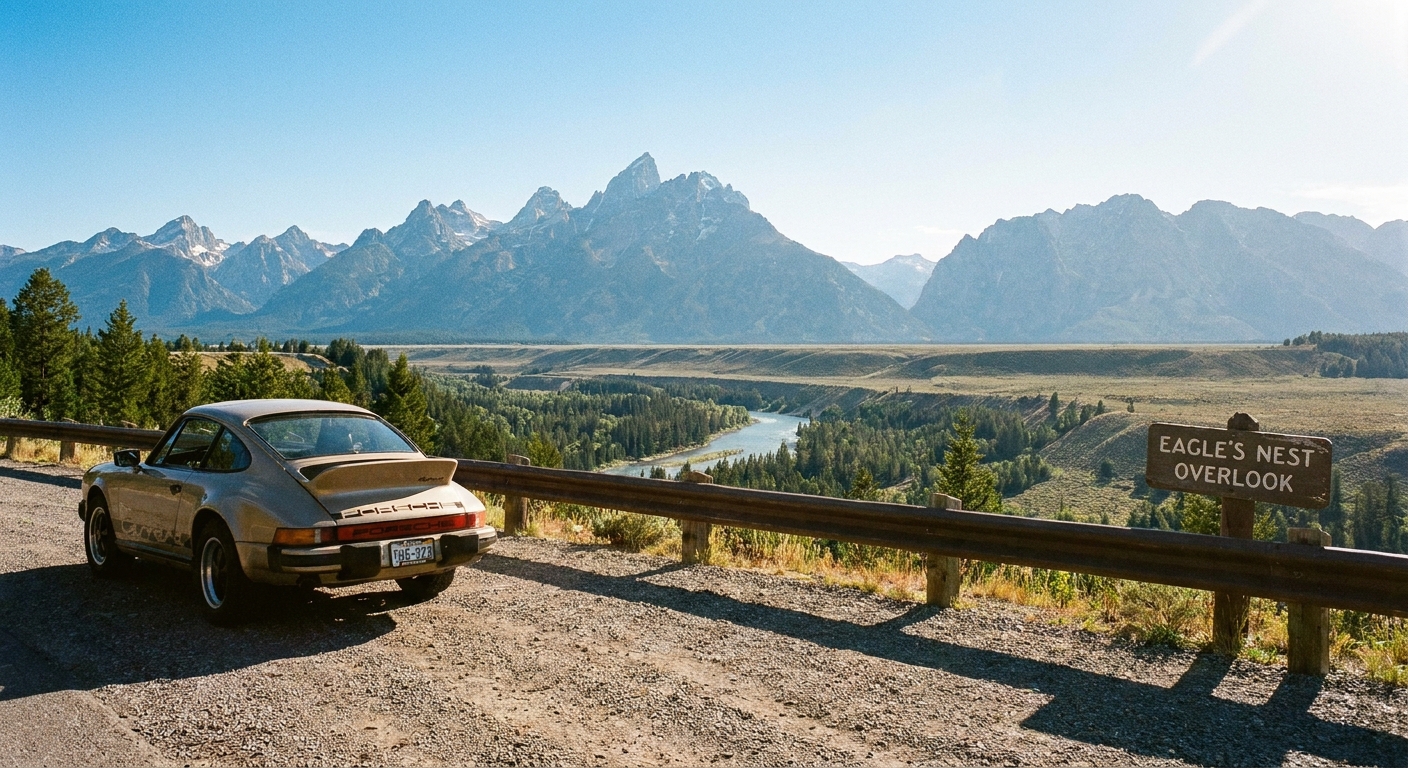
When you are planning around viewpoints, it helps to know what you are hunting for. On maps, scenic overlooks show up in a few predictable flavors.
Green flags for a real view
- Ridge edges and escarpments: Look for steep terrain near an edge or a bend in a ridge road. On many topo layers, that shows up as tightly packed contour lines, and sometimes cliff or rock symbols.
- Knobs, peaks, and domes: A closed loop of contour lines, especially with a spot elevation number, can mean a summit with a panorama.
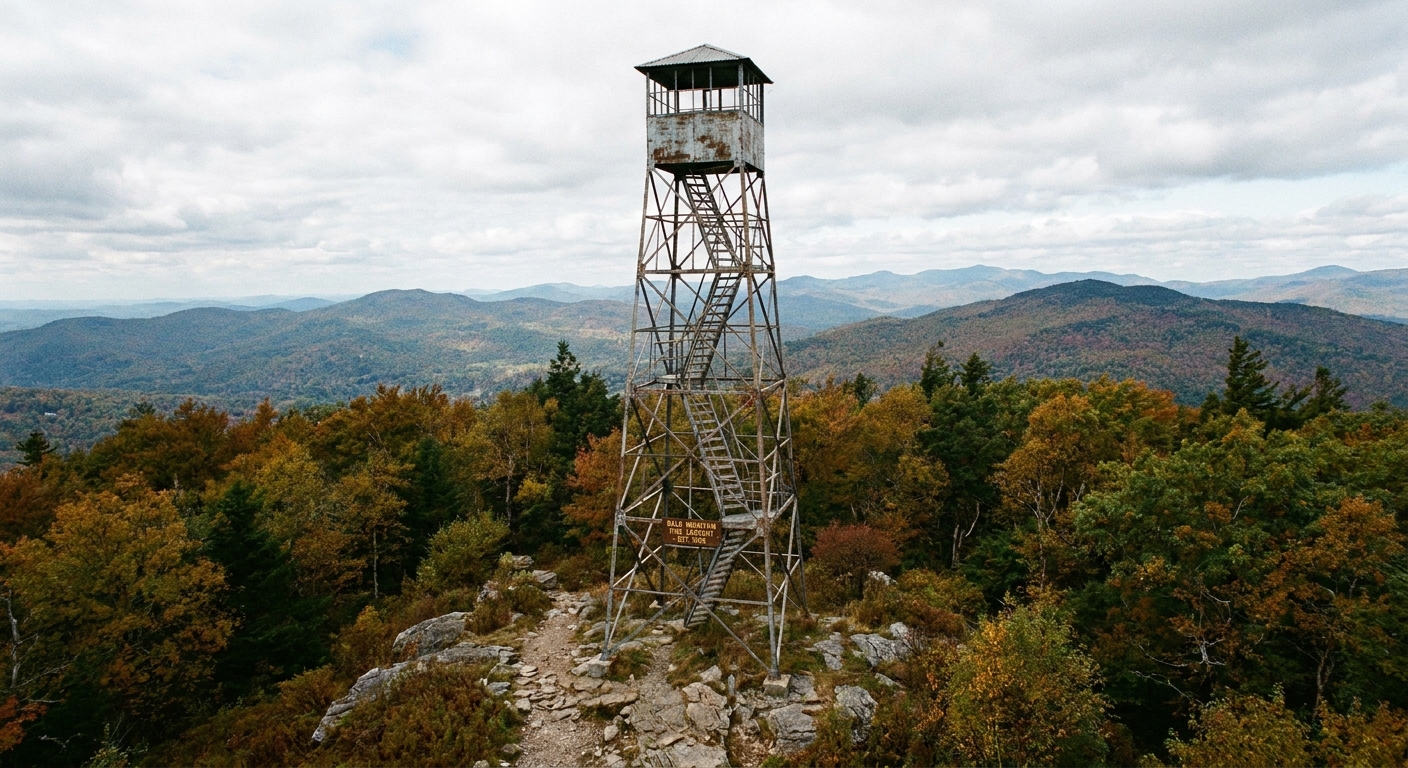
- Fire towers and observation decks: These are often near high points but can also sit on modest hills with surprisingly big sightlines.
- Water adjacency: Bluffs above lakes, rivers, ocean headlands, and reservoir dams tend to deliver big-sky photos.
Common letdowns
- Tree-blocked high points: A summit in thick forest can be gorgeous but not very view-forward unless there is a deck, tower, or bare rock.
- Private roads or gated communities: Maps will tempt you with a perfect ridge road that is not actually accessible.
- Seasonal closures: Mountain roads, towers, and even short spur roads can be closed for winter, fire danger, or maintenance.
Step 1: Pick a ZIP and a drive radius
Pick your starting ZIP code, either where you live or where you want to base the day. Then decide how far you are willing to drive one way. My sweet spot is 30 to 75 minutes, because it still feels like an adventure without turning into an endurance event.
If you want a simple framework, I still plan like a radius trip: one hub area, then a handful of stops that are close enough to keep the day smooth. My 5-mile method is the tight-town version of this idea, and it is perfect when everything you want is clustered. For overlook days, I just scale that circle up to match the terrain. Here is the approach: How to Plan a 5-Mile Radius Day Trip From Any ZIP Code.
Step 2: Read topo patterns for views
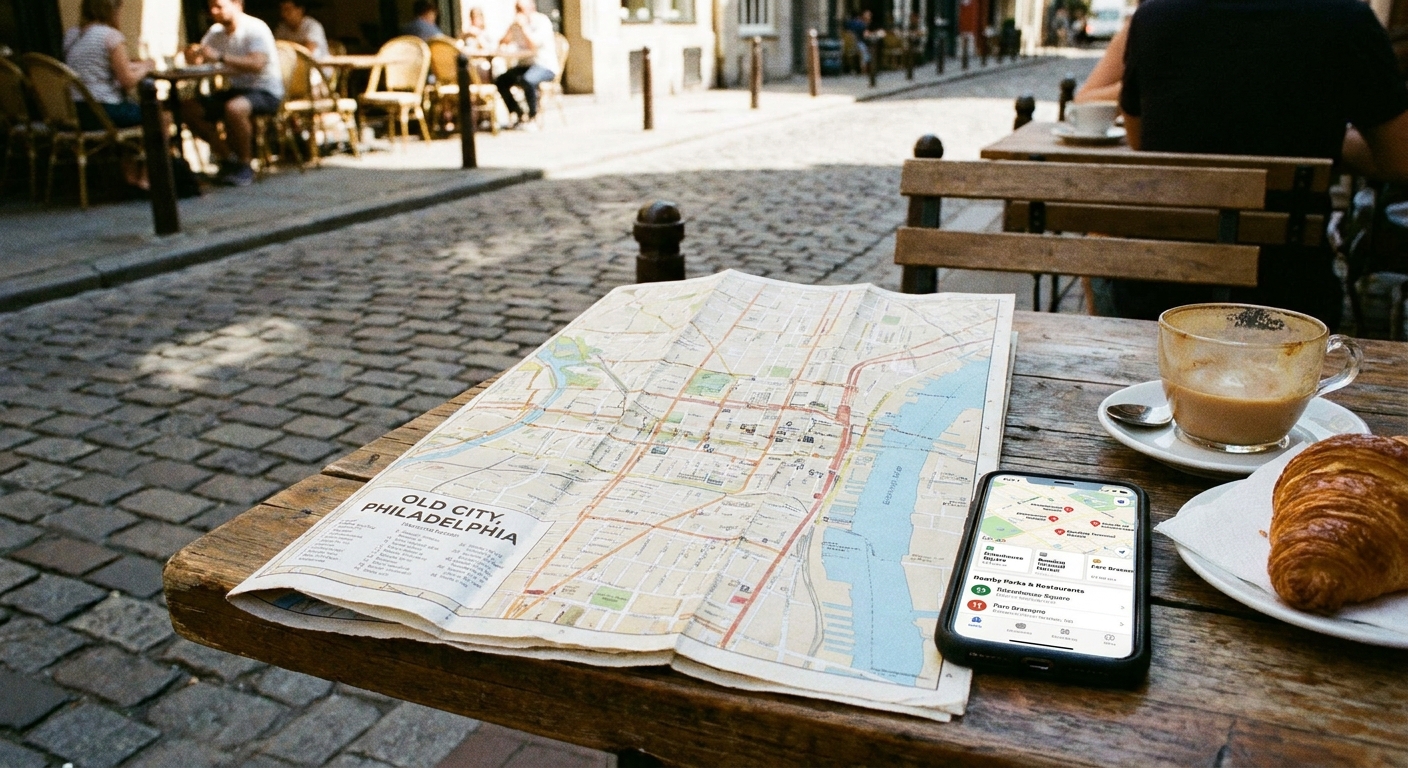
Topographic maps look intimidating until you learn the two shapes that usually point to an overlook.
Pattern A: Steep face near a road or trail
On a topo map, steep terrain means contour lines packed close together. When that steepness runs along a ridge edge, a bluff, or a sharp bend in a mountain road, you have strong overlook potential. Some map layers also add cliff bands or rock symbols, which is an even better hint.
- What to look for: a band of tightly stacked lines on one side of a ridge or road, with gentler spacing on the other.
- Why it works: you can sometimes get a quick-access viewpoint without a long climb.
Pattern B: A knob with a reachable approach
A peak is a set of closed contour loops, like nested rings. The trick is not just finding the peak. It is finding the peak that has a trailhead, service road, tower, or park access.
- What to look for: a high point inside a protected area (state park, national forest, county park), or near a named feature like Lookout, Overlook, Point, Observation, or Tower.
- Why it helps: public land and signed trails often improve your odds for legal access, but you still want to watch for closures, permit rules, or overflow parking limits.
If you are new to using ZIP codes as your search anchor, this quick explainer helps you search smarter when a city name pulls too wide: City Name vs ZIP Code Search.
Step 3: Turn map hints into real stops
Once you see a few promising high points near your ZIP code, you need to convert them into locations you can actually visit. I do a three-pass check, using a topo layer in a map app, satellite view, and whatever boundary or public-land layer I can find.
Pass 1: Name clues
Search your map area for names that are basically the map equivalent of someone whispering, trust me.
- Overlook, Lookout, Scenic View, Vista, Point
- Fire Tower, Observation Tower, Lookout Tower
- Bald, Dome, Ledge, Bluff, Rim, Palisades
- Gap, Notch, Pass (often comes with sweeping road views)
Pass 2: Access clues
- Road turnout or pull-off markers: often indicates an official stopping spot.
- Park boundary or public land: publicly managed land raises the odds you can park and walk in legally.
- Trailhead density: if multiple trails converge near a ridge, there is usually a reason.
Pass 3: Reality check
Before you commit, confirm a few practical things. This is where satellite view and recent visitor photos save you from wishful thinking.
- Parking: even a small gravel lot beats improvising on a narrow shoulder.
- Open status: towers and decks can have daylight hours, seasonal access, or temporary closures.
- Legal access: look for gates, posted signs, and private driveways on satellite view. If it feels ambiguous, pick a viewpoint inside a clearly marked park boundary.
- Actual sightlines: trees grow in, viewpoints get brushy, and sometimes the best angle is 50 yards past the sign.
Keep a shortlist of 3 to 5 overlooks. If weather, crowds, or closures throw a wrench in things, flexibility is everything.
Step 4: Build a full day, not a single stop
The best overlook days have rhythm: a morning warm-up view, a midday snack stop, a main event viewpoint, then a sunset closer. Here is my reliable structure.
Morning: an easy win
Start with an overlook that is easy to reach. Something off a main road, a dam, a short paved path, or a visitor center deck. This guarantees you get at least one great photo even if the rest of the day shifts.
Late morning: a short hike to earn the panorama
Pick one viewpoint that requires a bit of effort, usually 0.5 to 3 miles round trip. This is where topo maps shine because you can avoid surprise climbs.
- My rule: if contour lines look tightly stacked along your route for a long stretch, expect a serious climb.
- If you want gentler: choose ridge-walk trails where lines are spaced wider along the route.
Lunch: picnic with a wind plan
Overlooks are windy more often than people expect. Bring one wind-safe food option (wraps, pasta salad, empanadas, sturdy fruit) and something you can eat one-handed if your napkins try to escape.
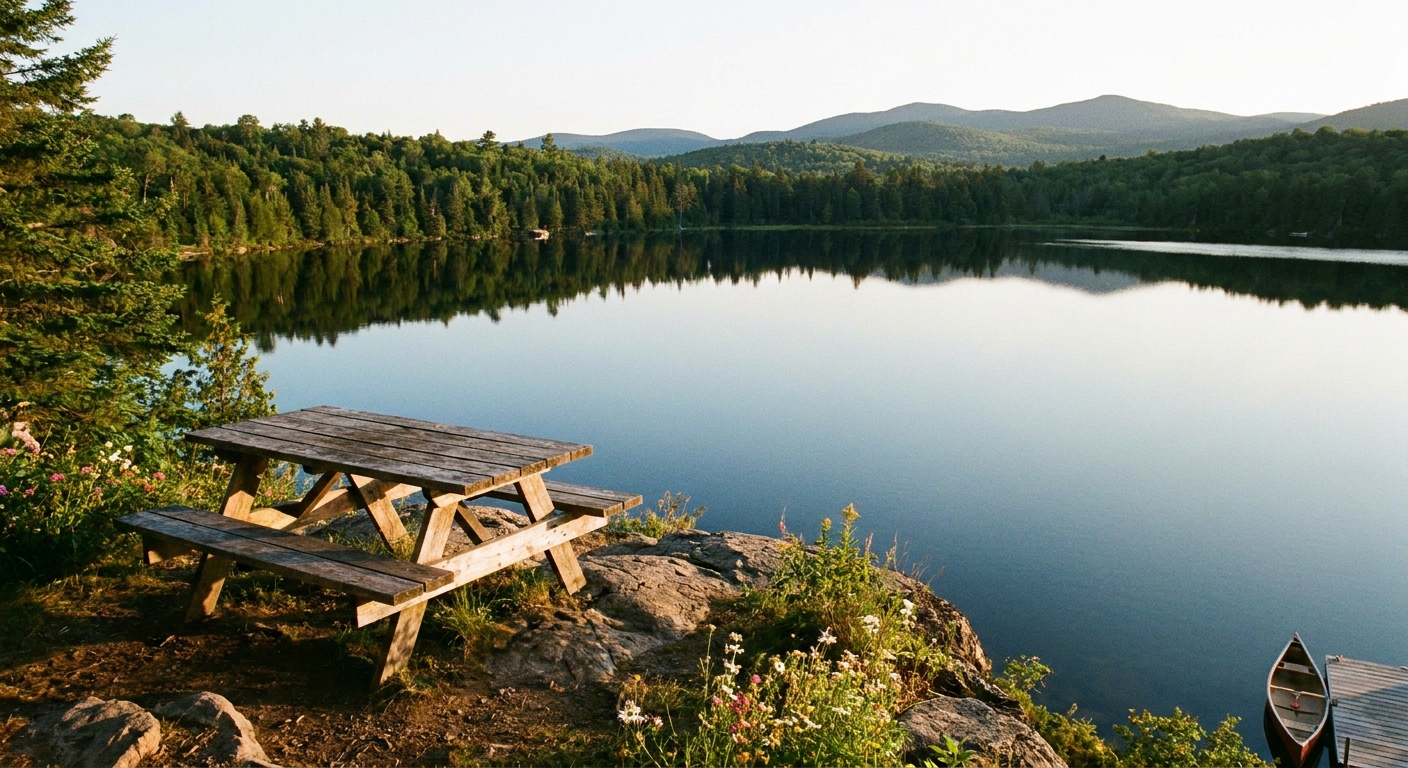
- Picnic surfaces: look for a nearby park shelter, a grove of trees, or a lakeside area if the overlook itself is bare rock.
- Leave no trace: pack out everything, including compostables like fruit peels and tea bag wrappers.
Afternoon: a quirky detour
Views are amazing, but a day trip needs a little personality. I like adding one small only-here stop in the same ZIP cluster, like a historic marker or a funky roadside feature. If you want ideas for that layer, this guide pairs perfectly with overlook hunting: Find Historical Markers by ZIP Code.
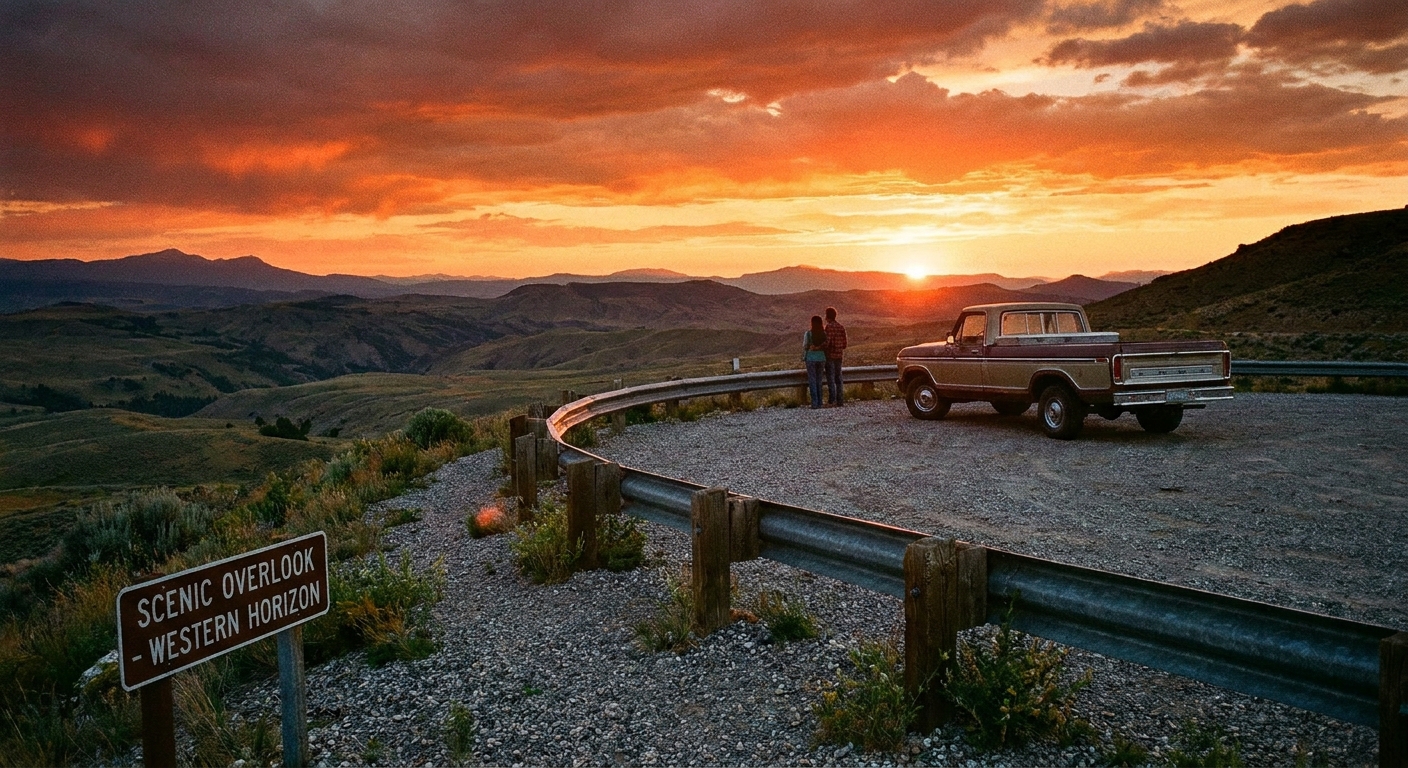
Sunset: your final deck or west-facing ridge
If you can choose, prioritize a west or southwest facing viewpoint for golden hour. If you are working with an east-facing overlook, sunrise is your moment, and sunset can shift to water reflections, skylines, or a viewpoint that looks into the light less directly.
Accessibility note
If mobility is limited, lean into visitor center decks, paved viewpoints, and drive-up turnouts. Many parks list accessibility details, and calling ahead can save you an exhausting surprise.
Step 5: Simple overlook photo tips
You do not need fancy gear for overlook photography. You need timing, steadiness, and a little intention.
Chase soft light
- Best: 1 to 2 hours after sunrise and 1 to 2 hours before sunset.
- Okay: overcast days (the sky is a giant softbox).
- Tricky: midday sun, especially with haze. If midday is all you have, focus on close foregrounds like rocks, railings, flowers, or a winding road.
Watch air quality and haze
Smoke, humidity, and summer haze can flatten even an epic view. On those days, I pivot to shorter hikes, waterfalls, forests, or a closer-range viewpoint where the drama is in the foreground.
Use a foreground anchor
Photos from overlooks can turn into a flat pretty-distance shot. Add something near you: a rock ledge, a railing, a tree limb framing the edge, your coffee cup on a stone wall. It gives scale and depth.
Stability beats zoom
- Lean your phone on a rail or boulder for steadier shots.
- Use a 2-second timer to avoid shake.
- If you zoom, zoom a little. Heavy zoom turns distant ridges into mush.
Panoramas: go slow
When you shoot a panorama, rotate your body, not just your arms. Keep the horizon level. It prevents that wobbly-horizon look.
Overlook safety and etiquette
Overlooks feel tame until you remember they are literally designed to bring you to an edge. A few habits keep your day fun.
- Assume loose rock: especially on ledges and unofficial viewpoints.
- Mind the weather: wet stone, ice, and high winds change everything.
- Stay behind barriers: they exist for a reason.
- Be parking-smart: never block gates, trailheads, or narrow shoulders. If the lot is full, go to viewpoint number two and circle back later.
- Share the rail: photographers, families, and hikers all want the same few feet of prime real estate. Take your shot, step aside, repeat.
A sample overlook day plan
Here is my plug-and-play schedule. Swap the places, keep the pacing.
- 9:00 a.m. Coffee and a bakery item in the target ZIP code (it is my favorite way to feel like I belong somewhere fast).
- 10:00 a.m. Easy-access overlook or visitor center deck (15 to 30 minutes).
- 11:00 a.m. Short hike to a higher viewpoint (60 to 120 minutes).
- 1:00 p.m. Picnic lunch at a nearby park or lakeside area (45 minutes).
- 2:30 p.m. Scenic drive segment that connects your next two stops.
- 3:30 p.m. Small detour: historic marker, quirky roadside stop, or local museum (45 minutes).
- 5:00 p.m. Early dinner or takeout to-go.
- 6:30 p.m. Sunset overlook (arrive early, choose a safe spot, let the light do its thing).
If you want your coffee plus lunch plus dinner stops to be as memorable as the view, I keep it simple: pick locally owned spots in the same ZIP cluster so you are not driving across town for a sandwich. This guide walks through that method: Find Hidden Gem Restaurants With a ZIP Code.
FAQ
How do I find an overlook if my area is flat?
In flatter regions, trade mountain view for big sky. Look for river bluffs, lake dams, dunes, coastal boardwalk towers, wildlife refuge observation platforms, tall parking garages in downtowns, and even stadium-area decks. You can also hunt for old fire towers on modest hills.
How can I tell if a viewpoint is private property?
Topo maps and satellite views help, but nothing beats signage on the ground. If access is unclear, choose a viewpoint inside a park boundary or on clearly public land. When in doubt, skip it. There is always another view.
What should I pack for an overlook-focused day trip?
- Water, plus one warm drink if it is chilly up high
- Wind layer (even in summer)
- Snacks that will not crumble into a million pieces
- Trash bag, wipes, and a small first-aid kit
- Portable phone charger
- A sit pad or small blanket for rocky viewpoints
When is the best season for overlooks?
It depends on your region, but clear winter days often have the sharpest visibility. Spring brings fresh color and strong waterfalls, summer can bring haze and crowds, and fall delivers the most dramatic color with the biggest popularity spike. If you love quiet, aim for weekday mornings in shoulder seasons.
Where to go next
If you are in full micro-trip mode, these are great next reads for turning a single ZIP code into a whole day of wins:
- Plan a Local Day Out Beyond a ZIP Code
- Mapping Quirky Roadside Attractions by ZIP Code
- Attractions Guide
Pick a ZIP code, circle a handful of high points, and give yourself permission to be delighted by whatever view you find. That is the whole magic of it.