

I grew up in a military family, which meant I got very good at landing in a new place and figuring out how to have fun before we knew anyone. That habit stuck. And it is the reason I love what I call the zero-dollar road trip: a full, satisfying day of driving and exploring where the route is built on free parks, public lands, landmarks, and sights that do not require a ticket.
To be clear, “zero-dollar” is the mindset, not a promise. You might still spend on gas, snacks, or that iced coffee you deserve. But you can absolutely plan a route where every stop is free to enter and parking is either free or avoidable with planning.
What counts as a zero-dollar stop
When I am mapping a free-attractions-only loop, I look for places that meet two tests: you can enjoy them without paying an admission fee, and you can reasonably arrive without paying to park.
My go-to free categories
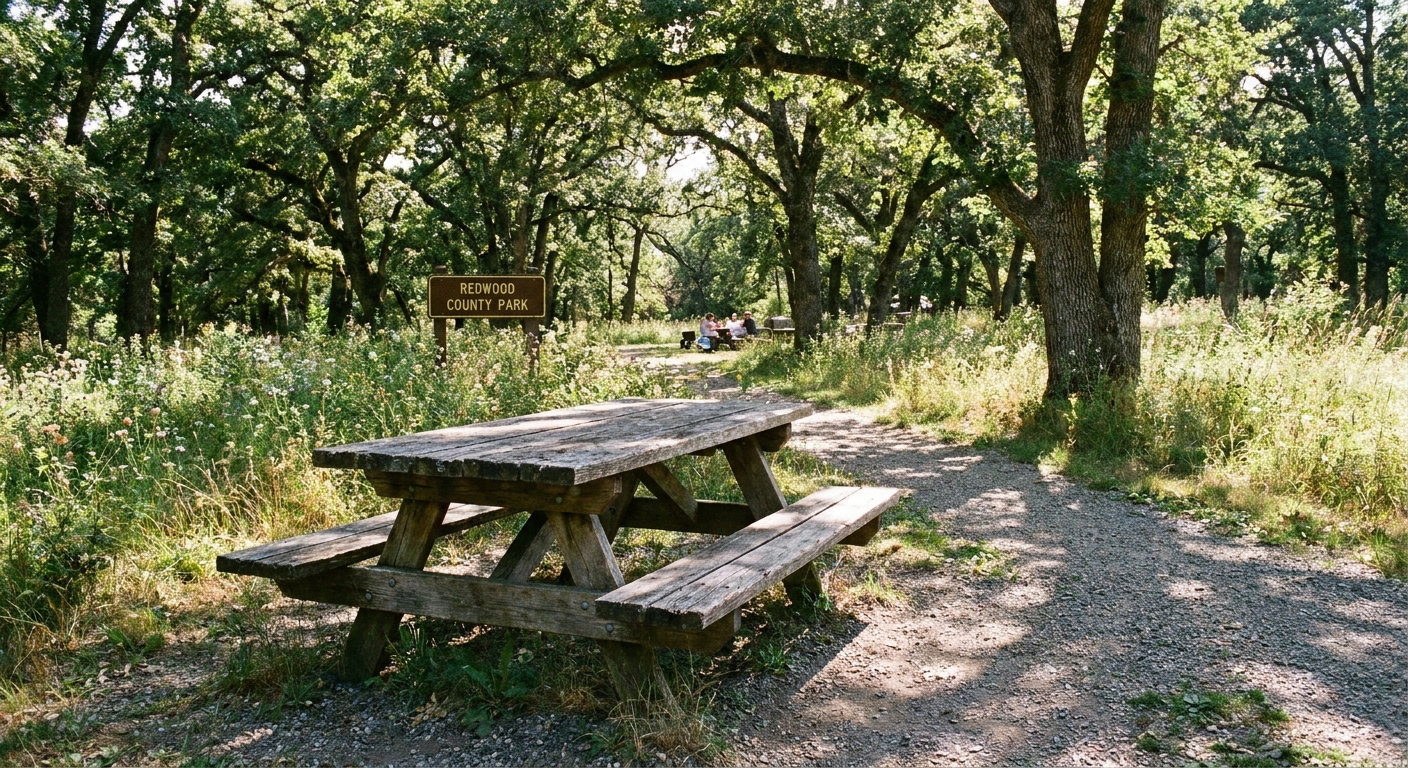
- City, county, and regional parks with trails, lakes, gardens, or skyline views
- National Forest and BLM day-use areas (some are free, but many popular trailheads use day-use fees, parking passes, or reservations, so verify before you go)
- State wildlife management areas and nature preserves (rules vary and some require a permit or a hunting or fishing license, or have seasonal closures)
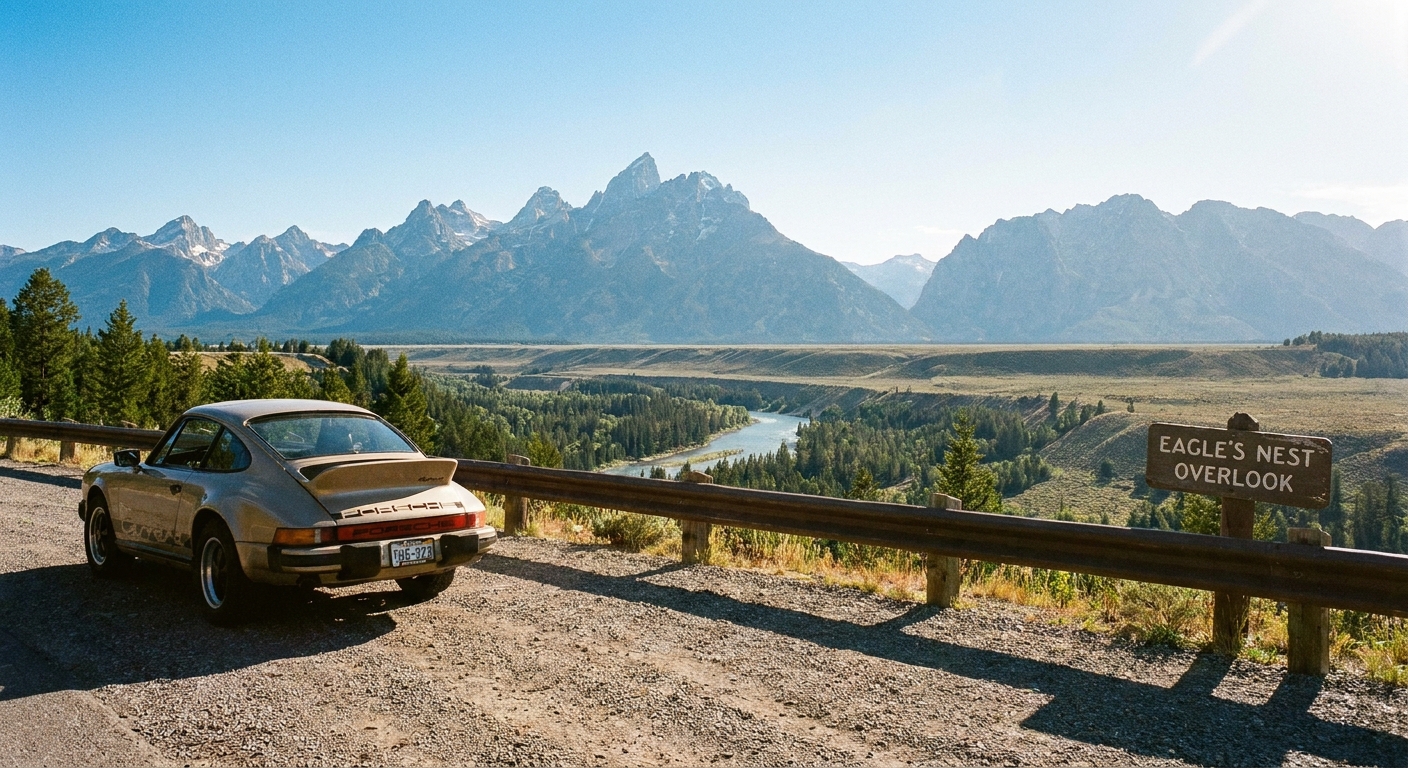
- Scenic overlooks, pull-offs, and designated viewpoints
- Historic markers, monuments, and courthouse squares
- Self-guided walking districts like murals, riverwalks, or old town main streets
- Free museums or visitor centers (some are always free, some have free days)
- Waterfronts like public beaches, boardwalks, and fishing piers (access may be free even when parking is not, especially in resort towns)
If you want help identifying the marker-heavy areas near a zip code, start with Find Historical Markers by Zip Code. It is one of the easiest ways to stack free stops without overthinking it.
The route method I use every time
This is the exact approach I use when I pick a random zip code and build a day around it. It works whether you are staying close to home or branching into a neighboring region.
Step 1: Pick a base zip and radius
Choose one zip code as your anchor, then decide how far you are willing to roam. For a true day trip that still feels relaxed, I love a 25 to 60 mile radius.
If you like a simple framework, use the same idea from How to Plan a 5-Mile Radius Day Trip From Any ZIP Code, then scale it up. The concept is identical, you are just stretching the circle.
Step 2: Build a free stack first
I do not start with directions. I start with a list.
- 4 to 6 parks or natural areas
- 2 to 4 scenic views or landmarks
- 1 walkable downtown or neighborhood stroll
- 1 optional weather backup stop (still free)
Then I arrange them into a loop that keeps me moving forward instead of zig-zagging.
Step 3: Use the loop rule
A loop road trip feels more fun than an out-and-back, and it saves decision fatigue. The loop rule is simple: one big destination (the farthest point) plus smaller stops on the way out and the way back.
Step 4: Time-box each stop
Free stops can accidentally turn into all-day stops, which sounds dreamy until you realize you did not eat lunch and the sun is setting.
- Overlook or landmark: 10 to 25 minutes
- Short trail or park wander: 45 to 90 minutes
- Downtown walk: 60 to 120 minutes
- Stretch stop playground or river access: 15 to 30 minutes
This is how you end the day feeling like you did a lot, not like you lived in your car.
Spot parking traps early
If there is one thing that can quietly blow up a zero-dollar day, it is parking. I have learned to treat “free attraction” and “free parking” as two separate questions.
My parking screening checklist
- Use street view as a first screen. If the approach is all garages and meters, confirm your options before you commit (meters and rules do not always show clearly, and they can change by day and time).
- Look for words like “visitor lot,” “trailhead lot,” or “park entrance kiosk.” Kiosk sometimes means a day-use fee, pass requirement, or permit check.
- Scan reviews for the word “parking.” People love to complain when parking is confusing, so let them save you time.
- Watch for event venues nearby. A free waterfront next to a stadium can become paid parking on game days.
- Assume downtown curbside parking has time limits. Plan a shorter stop or park once and walk more.
If you are doing a sports-adjacent day, my “paid parking surprise” radar comes from building game-day routes. The same logic applies even if you are not attending anything: Maximize Game Day by Stadium Zip Code.
Make free feel like a real trip
The secret sauce is variety. A zero-dollar route should bounce between different kinds of wow, not five parks in a row that all look identical in photos.
Use the three-texture mix
- Green: trails, gardens, lakes, shade, picnic tables
- Stone: history, monuments, markers, quirky roadside features, old bridges
- Street: a walkable district with murals, architecture, or a riverfront promenade
If you want a simple way to build street texture for free, plan a walking segment inside a zip boundary and treat it like an attraction. This is my favorite way to do it: Map a Self-Guided Walking Tour With ZIP Code Boundaries.

Free stop types I lean on
Scenic overlooks
Overlooks are the highest wow-per-minute stop you can add. They are perfect when you want the day to feel big without spending money.
To build an overlook-heavy route near any area, use: Find Scenic Overlooks by Zip Code.
Quirky roadside sights
Some of the best “we will talk about this for years” memories come from weird little roadside stops: unusual statues, oddball local claims to fame, and blink-and-you-miss-it monuments. Many are free because they are basically outdoors, civic pride on display.
If that is your vibe, start here: Mapping Quirky Roadside Attractions by Zip Code.
Geology and nature features
Waterfalls, boulder fields, dunes, lava flows, and unusual rock formations can be free to access, especially on public land. The key is confirming the fine print: day-use fees, parking passes, permits or reservations, and seasonal gate hours.
For route ideas, I pull from: Mapping Geological Wonders by Zip Code.
Libraries and indoor backups
When the weather turns, libraries are my unsung heroes. They are free, they have bathrooms, and they often sit near downtown areas that are fun to stroll. Pair one with a covered public market, a downtown window-shopping loop, or a visitor center.
If you want a bookish anchor stop that feels like an attraction, you will like: The Bibliophile’s Map.
A blueprint you can copy
Here is a structure I use constantly. Swap in local equivalents and you have an instant plan.
Morning: the easy-win loop
- Stop 1: Sunrise or early morning overlook (15 minutes)
- Stop 2: A big park with a short loop trail (60 to 90 minutes)
- Stop 3: Historic marker cluster or monument walk (20 to 40 minutes)
Midday: park once, walk a lot
- Stop 4: Downtown stroll, murals, riverwalk, courthouse square (60 to 120 minutes)
- Optional: Picnic lunch at a nearby public green space (free tables are gold)
Afternoon: the farthest-point feature
- Stop 5: Your farthest-point attraction, ideally nature-based (90 minutes)
- Stop 6: A quick scenic pull-off on the way back (10 to 20 minutes)
Golden hour: close the loop
- Stop 7: A waterfront, boardwalk, or hilltop park near home (30 to 60 minutes)
That is a full day that feels layered and intentional, without needing tickets.
Keep costs truly at zero
If you are trying to make this a true no-spend day once the gas is already in the tank, these are the ground rules.
- Pack water and snacks at home. Convenience-store stops are where budgets quietly disappear.
- Choose parks with restrooms. It helps you avoid emergency purchase situations.
- Avoid toll roads. If your map app defaults to tolls, turn them off before you start.
- Plan one long stop instead of three short ones that require parking. Park once is a real savings strategy in cities.
- Verify public-land requirements. Even outside national parks, you may run into day-use fees, parking passes, or permits and reservations for trailheads.
On that last point, the National Park Service and U.S. Forest Service sites can help you confirm what is free, what is fee-based, and what is seasonal.
Safety and access checks
I love a free day, but I love an easy, low-drama free day more. Before you roll, do a quick sweep:
- Trail reality check: distance, elevation, and surface, especially if you are bringing kids or squeezing this into a packed day
- Closures: wildfire or smoke issues, storm damage, seasonal gates, and local alerts
- Cell service: download your map or save the route for offline use if you are heading into public lands
- Water and heat or cold: free routes still require real prep
- Tides and surf: for beaches and coastal walks, the route can change completely by the hour
- Leave no trace basics: stay on trail, pack out trash, and keep free places nice
Common mistakes I have made
Doing too much driving
Free stops are everywhere, so it is tempting to string together a giant route. My rule: if the drive time is going to be more than the exploring time, tighten the loop.
Choosing stops that are free but not welcoming
Not every public location feels good to linger at. If reviews mention unclear access, towing, or tense parking, I skip it. Your day should feel easy.
Forgetting that free can still have a gate
Some parks are free but close at dusk. Some scenic roads have seasonal closures. Some trailheads require reservations even when the land is public. Always check hours and requirements.
Leaving no flexibility
The best free days include room for detours. A farmers market you did not plan for. A shady trailhead you spot. A small town square that is begging for a wander.
Quick FAQ
How do I find free attractions near a zip code?
Start with parks and overlooks, then layer in historic markers and a walkable district. On My ZIP Code Map, I usually begin with Road Trips ideas, then grab specific stop types like overlooks and markers.
Are state parks always free?
No. Some state parks are free, some charge per vehicle, and some charge per person. If your goal is strictly zero-dollar, look for city and county parks first, then verify state park fee policies before you commit.
What if my area has very few parks?
Build a street and stone day instead: architecture walks, historic districts, public art, landmarks, and waterfronts. Then add one larger park that is worth driving to.
Can this work in a big city?
Yes, but parking is the whole game. In cities, I plan a route with fewer total stops, park once per neighborhood, and treat walking as the main attraction.
The vibe you are aiming for
The best zero-dollar road trips feel abundant, not restrictive. You are not skipping attractions, you are building a route that highlights what is already public, already beautiful, and already yours to enjoy.
If you want to keep playing with this style of planning, I would start next with Road Trip Pit Stops by Zip Code for those little free breaks that make a long day feel smooth.