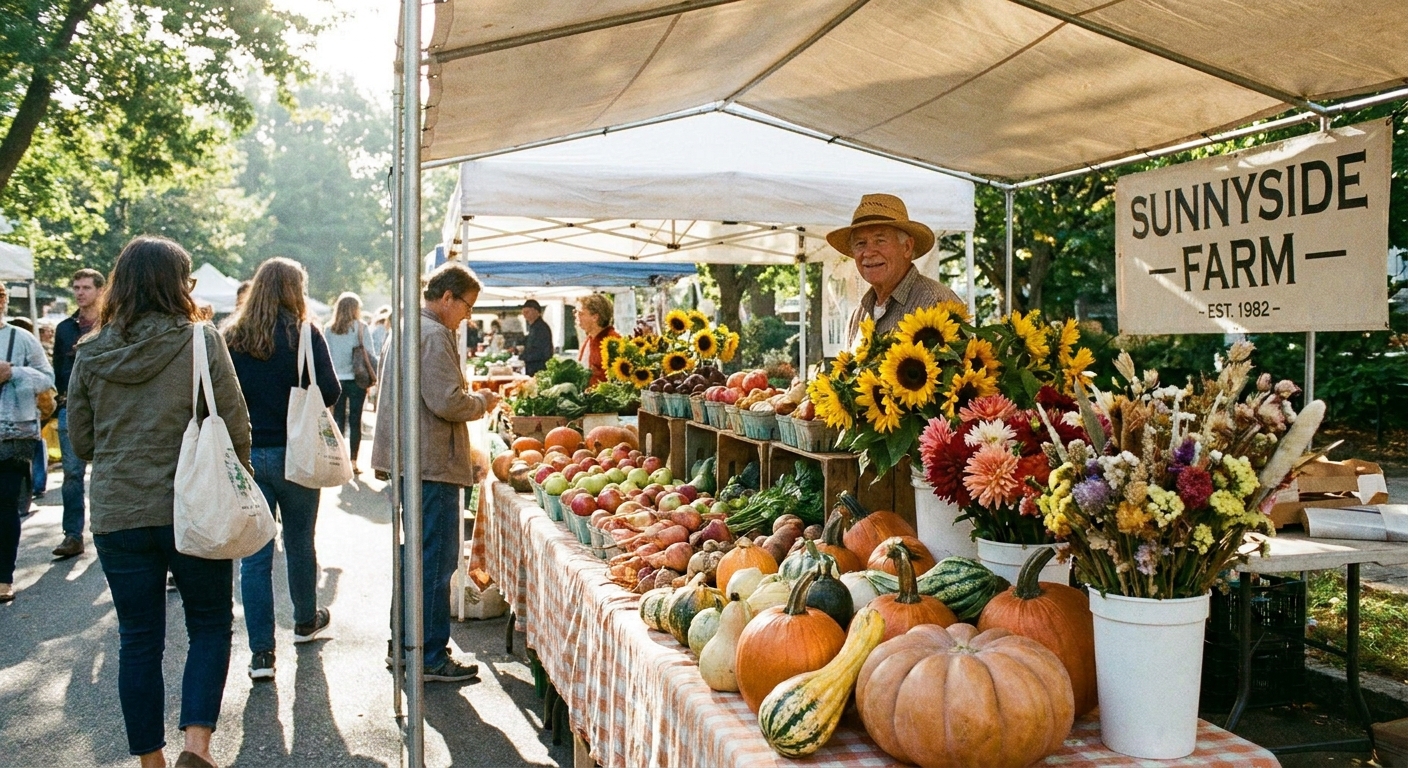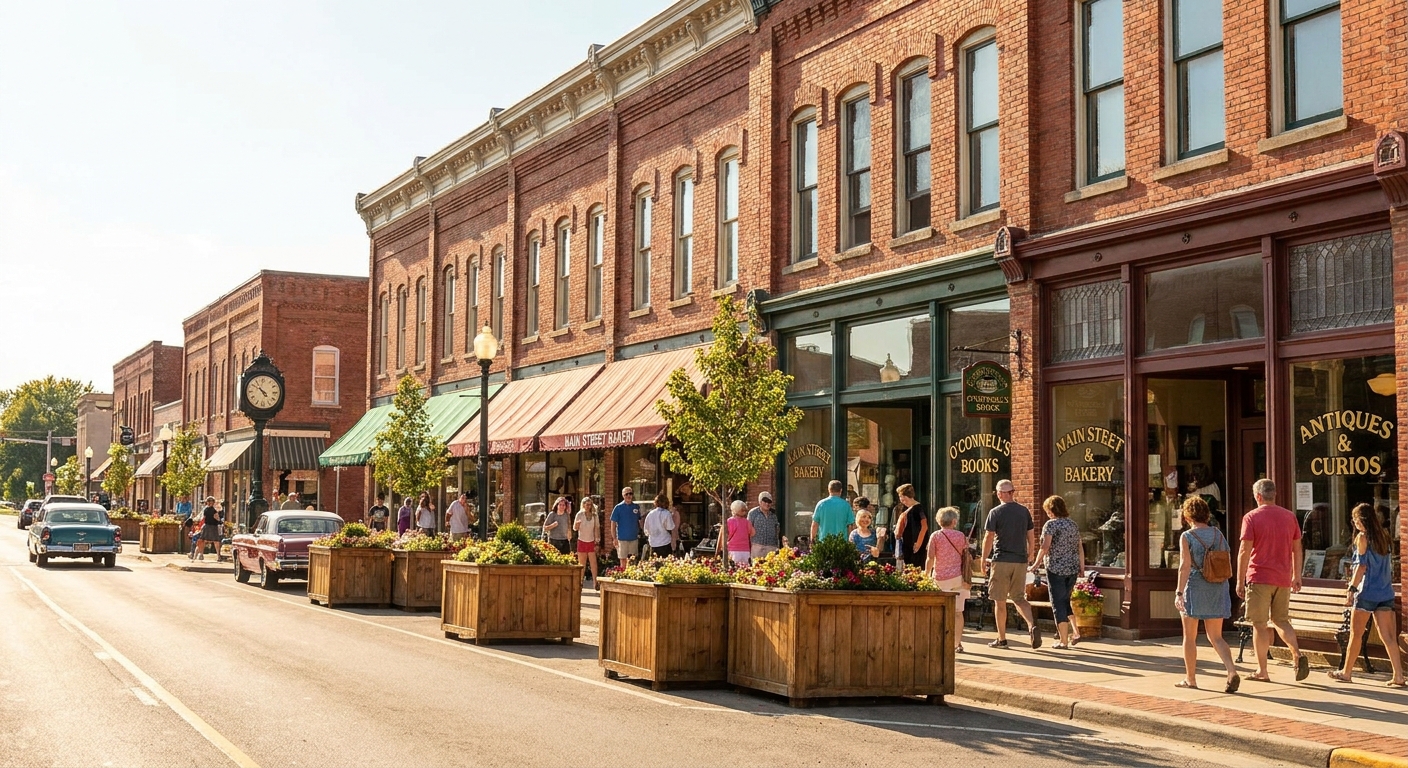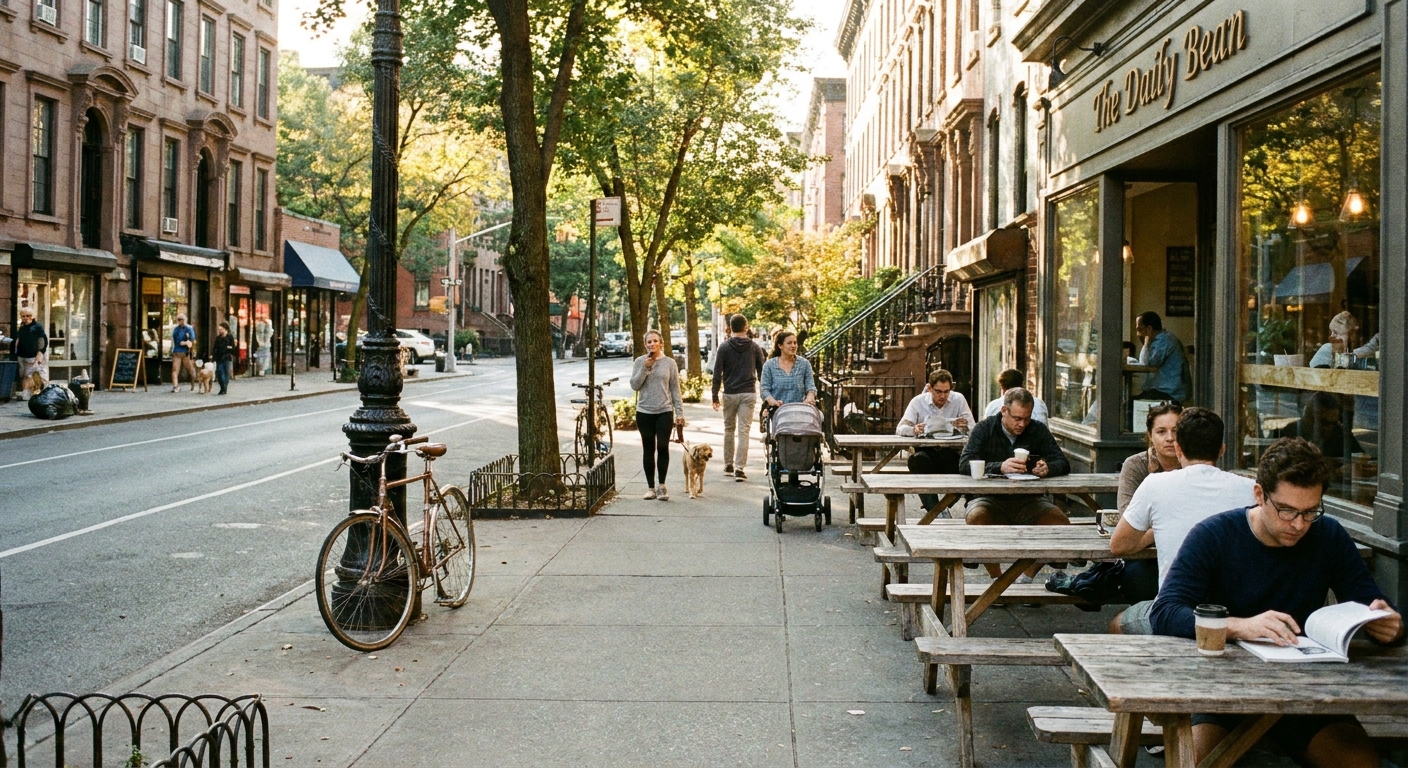

I grew up in a military family, which means I learned to land in a new place and immediately ask: Where do locals eat, wander, and find the good stuff? These days, my version of that question looks like this: Which zip code has the best dusty antique mall, the church-basement thrift store with the friendly volunteer cashier, and a courthouse square you actually want to stroll?
A rural antiquing day can be magic or it can be a backtracking marathon with three closed shops and a trunk full of regret. The trick is building a continuous vintage trail, a route that threads multiple flea markets, antique malls, and thrift stores between walkable town squares so the driving feels like a scenic connector, not the main event.
And yes, I really do mean zip codes. In rural areas, town names and “nearby” labels can get fuzzy fast. Zip codes help you plan with clean edges, especially when you are chaining small stops across county lines.
Start with one zip code
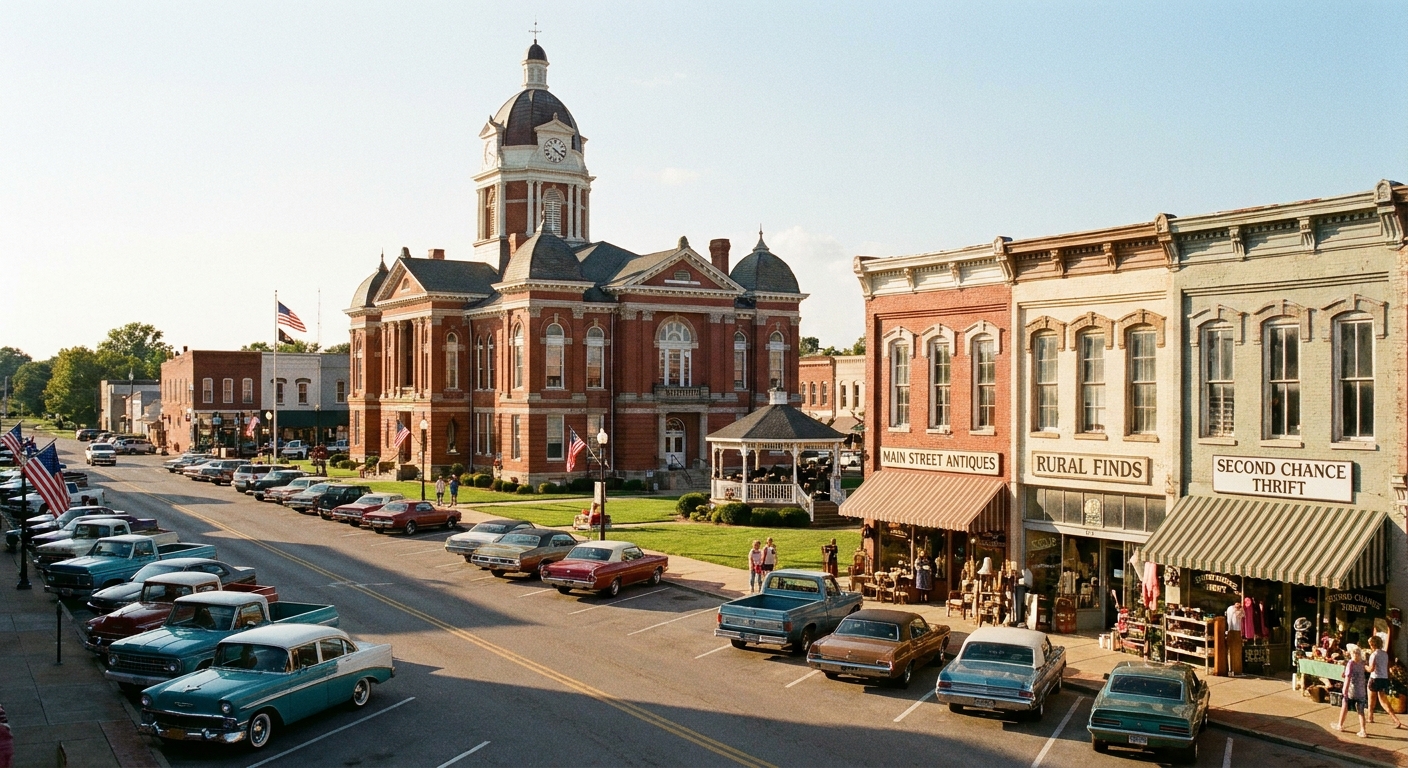
When I map an antiquing road trip, I do not start with a list of stores. I start with an anchor: one town square that looks like it can hold a whole morning.
From there, I build a chain of nearby zip codes that each add a different kind of stop. If you want the mechanics for building a day around one area, my approach is the same as in How to Plan a 5-Mile Radius Day Trip From Any ZIP Code, just repeated in a line like pearls on a string.
My quick criteria for an anchor square
- At least 3 antique or thrift options within a few blocks, not three miles apart.
- One true time-sink (antique mall, co-op, multi-vendor warehouse) where you can make up time if other stops are quick.
- Food within walking distance so you do not lose momentum driving for lunch.
- Easy parking (public lot, angled street parking, or a courthouse lot that allows daytime parking).
How I “stack” zip codes in practice
- Pick a direction first: north-south along one state highway, or east-west across one scenic connector road.
- Choose adjoining zips so each hop stays simple, even if the town names change.
- Put your anchor square in the middle when you can, so you are not racing to get there before shops close.
Plot a no-repeat route
Rural roads make it tempting to hop around, but the best vintage trails feel smooth. My rule: pick a shape, then fit your stops to it.
Pick your trail shape
- Loop: Best if you want to end near home, or you are traveling with a car full of people and want the return drive to feel short.
- Lollipop: Drive out on one main road, then do a loop through multiple town squares, then return the same way. Great when there is one obvious highway into the region.
- Point-to-point: Perfect for a weekend where you plan to stay overnight in the last town and shop again the next morning.
Use travel-time guardrails
- Between stops: I usually aim for 15 to 35 minutes of driving. Under about 10 minutes can mean the stops are in the same cluster, but in some rural areas it is still worth it if they are clearly different pockets of shops.
- Total driving: for a one-day trip, I try to keep it under 2.5 hours of drive time (not counting scenic detours).
- Number of towns: 3 to 5 town squares is a sweet spot. More than that becomes a “peek in, leave, repeat” day.
If you want to add a fun non-shopping break, stitch in a viewpoint or short nature stop between towns. I keep a running list using the same method in Find Scenic Overlooks by ZIP Code, because fresh air makes your next antique mall feel brand new again.
Time flea markets
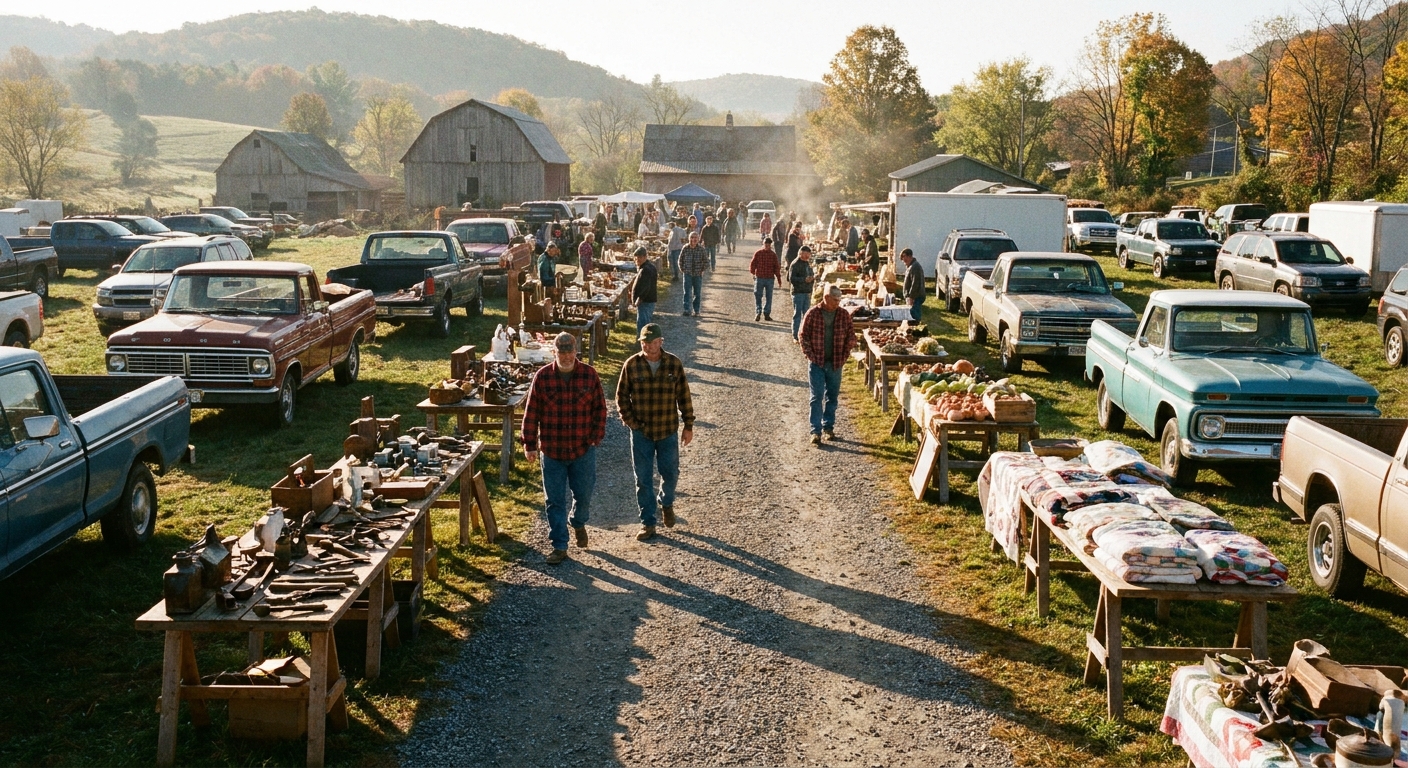
Flea markets are the boss level of routing because their schedules are picky. The route can be perfect, but if the flea market is only open Saturday 7 a.m. to 1 p.m., it needs to be your first or second stop.
A simple timing plan
- Early stop (first or second): outdoor flea market, swap meet, livestock pavilion market.
- Midday stop: antique mall or vendor co-op with consistent hours.
- Late stop: thrift stores and downtown boutiques, plus your “bonus square” if you are still energized.
Build in an open-hours buffer
In smaller towns, stores sometimes open a little late or close when the owner has a family event. I pad my day with one stop that is usually dependable, like a larger antique mall, a co-op, or a well-established thrift chain. That way, a surprise closure is annoying, not trip-ruining.
Mix your stop types
You will have more fun and buy smarter if each stop has a different personality. I like to mix:
- One curated antique shop (higher prices, better condition, great for inspiration).
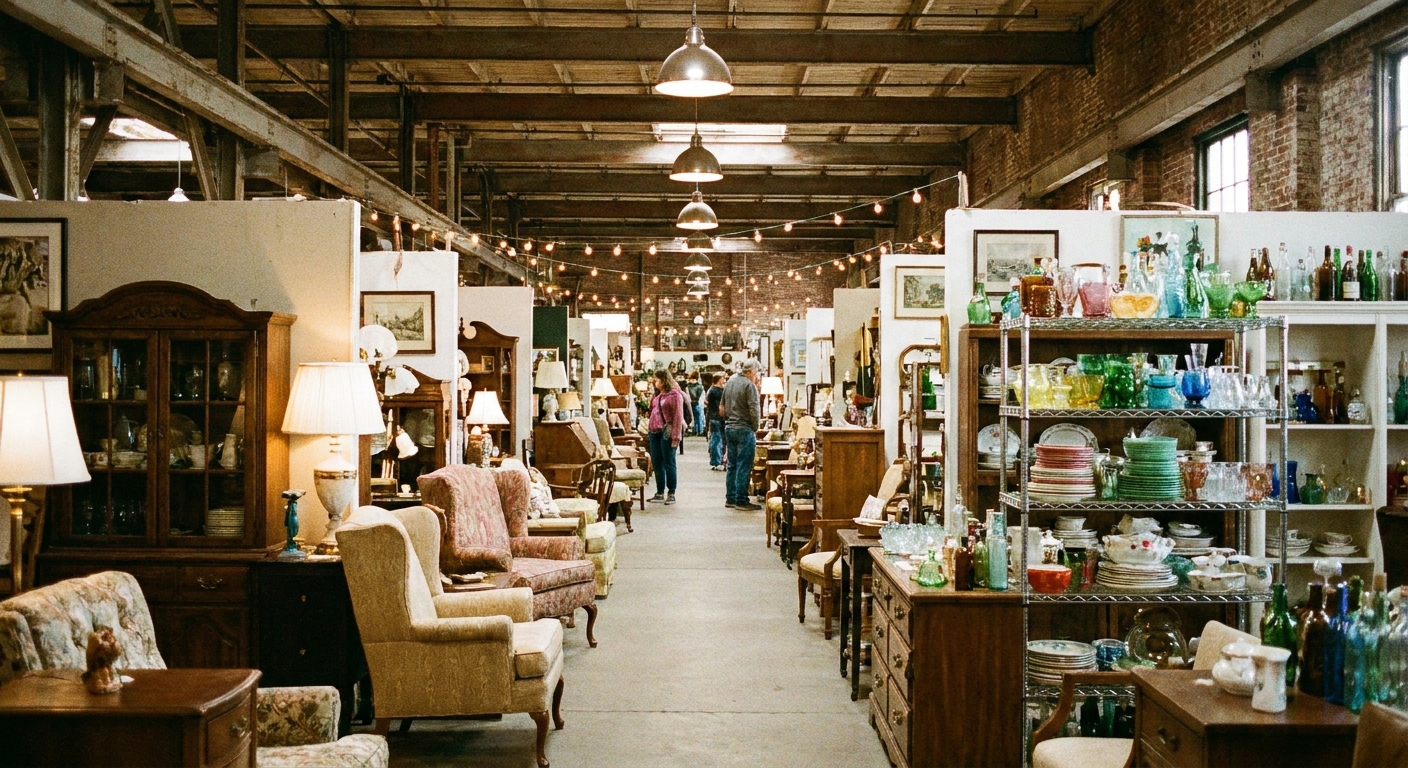
- One multi-vendor antique mall (variety, lots of browsing, good for small finds).
- One thrift store cluster (best odds for practical wins like baskets, frames, and everyday glassware).
- One wild card (estate sale storefront, salvage yard, barn sale, seasonal pop-up).
Want to make the day feel even more like a mini vacation? Add a quirky history stop between shopping bursts. I build those from roadside markers using Find Historical Markers by ZIP Code. Five minutes reading a plaque can reset your eyes so you stop seeing “stuff” and start spotting treasures again.
Use the town-square tactic
Town squares are made for antiquing days because you can park once and hit multiple formats:
- Courthouse-side antique store for vintage decor and furniture.
- Main Street thrift for the practical, random-score energy.
- Back-street warehouse for vendor booths and larger items.
My parking strategy
- Pick one lot and commit for at least 90 minutes. The constant re-parking is what drains your day.
- Check signs first, especially on courthouse lots. Event days and permit rules are real.
- Note load-out access when you arrive. If you buy furniture, you will want to know where the back door is before you are carrying a dresser through a tight aisle.
- Snap a quick reference photo of your curb plus a nearby landmark (a mural, the clock tower, the bakery sign). Some courthouse squares look identical from every corner once you have been inside three dim antique shops.
Route-proof your buys
Nothing derails a vintage trail faster than running out of room at Stop Two. Before you roll out, set a few rules so you do not have to choose between the chair you love and the lamp you found later.
My no-stress packing kit
- Old towels or moving blankets for wrapping breakables and protecting upholstery.
- Two tote bins: one for glass and small decor, one for “maybe” items you want to revisit at the last stop.
- Painter’s tape and a marker to label fragile boxes fast.
- Measuring tape and a note on your phone with key home measurements (doorway width, entry hall width, trunk opening).
- Basic tie-downs if you are the type to fall in love with a chair in a parking-lot loading zone.
A trunk rule that helps me
I try to keep about a quarter of my trunk empty until the final stop. That buffer has saved me from making rushed, cranky decisions when the best find shows up late in the day.
Keep the drive fun
Rural road trips shine when you sprinkle in small, satisfying detours that do not turn into an hour-long side quest.
- Scenic pull-off between towns: 10 minutes, stretch your legs, reset your brain.
- Roadside attraction if it is directly on your connector highway.
- Farm stand near your last stop so you end the day with something edible and local.
If you love the roadside-weird energy as much as I do, you can borrow ideas from Mapping Quirky Roadside Attractions by ZIP Code and tuck one oddball stop into your route as a palate cleanser between antique malls.
Rural logistics
A few unglamorous details make the whole day smoother, especially once you get off the main highway.
- Cash helps: some flea market vendors still prefer it, and card readers can get cranky in spotty service areas.
- Screenshot key info: hours, addresses, and your route. Cell service loves to disappear right when you need it most.
- Ask about holds and loading: if you are eyeing furniture, find out if they can hold it until you loop back, and whether they have a dolly or a back door.
- Dress for the lot: outdoor markets can mean mud, gravel, and zero shade. Sunscreen and a hat are not overkill.
A sample timeline
This is the rhythm that keeps me browsing happily without hitting the wall.
- 7:30 a.m. Leave home, coffee in hand.
- 8:15 a.m. Flea market or early-opening thrift stop (60 to 90 minutes).
- 10:00 a.m. Anchor town square (2 to 2.5 hours, park once).
- 12:30 p.m. Lunch on or near the square, plus a short walk.
- 1:30 p.m. Connector drive to the next zip code (15 to 35 minutes).
- 2:15 p.m. Antique mall or co-op (90 minutes).
- 4:00 p.m. Final town square thrift cluster and last-look loop (60 to 90 minutes).
- 5:30 p.m. Head home, optional scenic pull-off.
Common mistakes
Trying to hit every thrift store
Pick the best two or three. Thrifting rewards patience, not speed-running. A short list also keeps your route continuous.
Ignoring lunch logistics
Do not schedule your longest drive right before lunch unless you know you have options. In rural areas, a “town” can mean one diner with limited hours. I like to anchor lunch to the square with the most walkability.
Overcommitting to one giant antique mall
They are fun, but one mega-stop can swallow a day. If your route includes a huge antique mall, keep your other stops tight and close together so you still get that mini town-hop feeling.
Forgetting small schedules
Before you go, verify hours the day prior and again the morning of. If you have to reshuffle, swap in your time-sink stop and keep rolling.
FAQ
How far should an antiquing day trip be?
For a one-day out-and-back, I aim for a region within 60 to 90 minutes of home, then spend the day doing short hops between towns inside that region. That keeps you browsing more than driving.
Is it better to route by town names or zip codes?
Both, but zip codes help you stay precise, especially in rural areas where mailing addresses and town lines can get fuzzy. If you have ever wondered why your phone map calls the place one thing and your package label calls it another, you will appreciate the clarity in City Name vs ZIP Code Search.
How do I find antique clusters fast once I have a zip code?
I start by searching the zip code plus a few plain terms like “antique mall,” “antiques,” “thrift,” and “flea market,” then I look for repeats on the same couple of roads. When three or four pins land within a few blocks, that is usually a real cluster, not wishful thinking. I also scan storefront photos for clues like shared parking lots, walkable blocks, and multi-vendor spaces that can absorb extra time.
What if I only have a half day?
Do one anchor square plus one nearby stop, max. A flea market plus a walkable square is a perfect half-day combo, especially if you start early.
How do I avoid buying the wrong scale furniture?
Bring a tape measure and keep key home measurements on your phone. If you are on the fence, take a quick photo with your hand or a common item for scale, then decide at the end of the booth after you have paced it off.
End on a calm square
If you can, plan your last stop in a town with a nice square for a golden-hour walk. After a day of hunting, it is surprisingly satisfying to sit on a bench, sip something cold, and do a quick mental recap of what you found. It turns a shopping day into a tiny memory.
That is the whole point of these micro-trips, at least for me. You are not just collecting vintage. You are collecting places.