
I learned to plan “river-hugging” drives the same way I learned to find my feet in a new town as a military kid: follow the water. Rivers give you a storyline, a natural set of landmarks, and a surprisingly reliable way to stumble into the best parks, diners, and overlooks without needing a big destination.
Here’s how I build a road trip itinerary that traces a local river on purpose, not by accident. You will use zip codes to keep it tight, bridge crossings to shape your route, dams and locks for structure, and waterfront picnic areas for the kind of breaks that actually feel like the point of the day.
Start small with one zip code
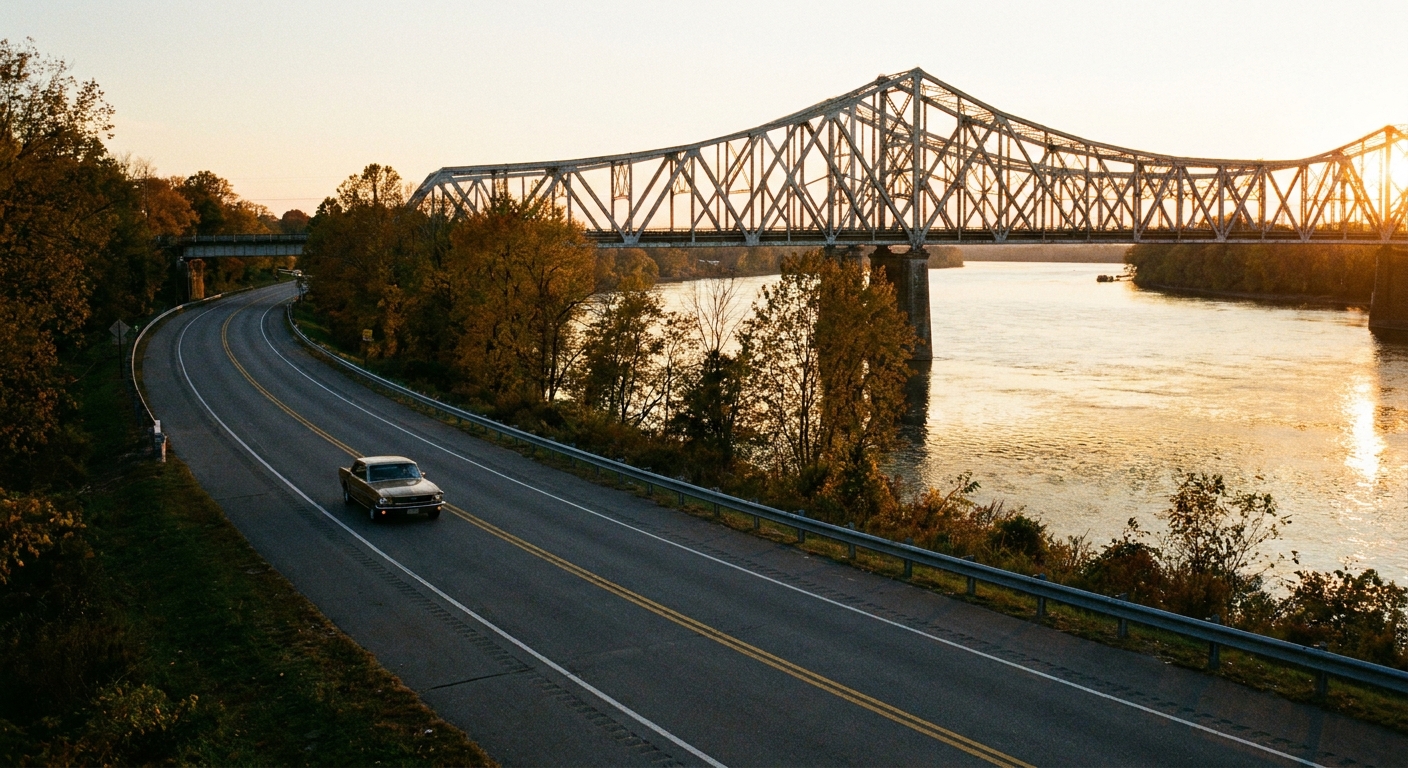
If you start by saying “I’m going to drive the whole river,” it can easily turn into a 9-hour day and a cranky passenger situation. I start with a single anchor zip code and a radius, then let the river supply the scenery.
My default: pick an anchor zip code that is either (1) closest to your home base or (2) closest to a river feature you want to see, like a dam, a historic downtown riverfront, or a state park entrance.
- Micro-trip (2 to 4 hours): about 10 to 25 miles of river corridor
- Classic day trip (6 to 8 hours): about 40 to 90 miles of river corridor
- Weekend-style day (all daylight): 100+ miles, if you keep stops short and know it will feel like an overnight day even if you come home
These ranges assume scenic two-lane roads, a few pull-offs, and 2 to 4 real stops. If you are moving faster on bigger highways, you can cover more. If you are poking into parks and river towns every 20 minutes (my style), plan for less.
If you like planning by radius first, use the approach in How to Plan a 5-Mile Radius Day Trip From Any Zip Code and apply it to a string of “radius bubbles” that step along the river.
Find the river roads
Most mapping apps will try to yank you away from the water to save a few minutes. What helps is choosing a road network that behaves like a river companion, not a highway shortcut.
What to look for on the map
- Roads named after the river: River Road, Riverside Drive, Water Street, Levee Road, Front Street
- Parkway segments: often scenic and intentionally built near the water
- County roads on the floodplain: slower, prettier, more pull-offs
- Continuous green space: a chain of parks usually means a drivable river edge
What to avoid if you want views
- Interstates parallel to the river: you may be near the river but never see it
- Bluffs with no access roads: you will get “close” but with zero pull-offs
- Industrial stretches: sometimes interesting, but plan them intentionally
Tip from too many accidental detours: when you see your route drift a mile or two away from the river, zoom in. Often there is a smaller road that stays tight to the bank, but it is slower and your app will not pick it by default.
Use bridges to make loops
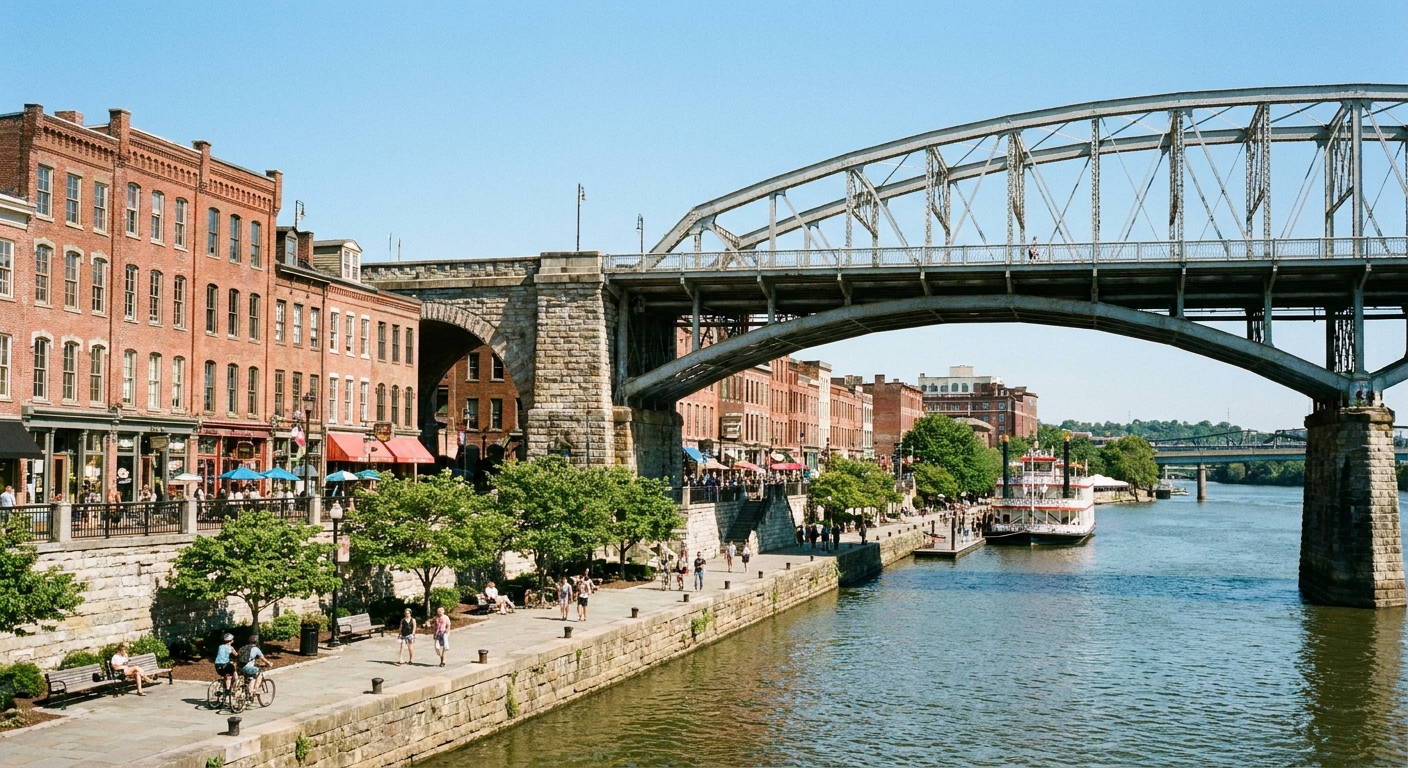
Bridges are the easiest way to turn a one-way river trace into a satisfying loop. They also give you great angles from the roadway, and that “we made progress” feeling without needing a big attraction.
The 3-bridge method I use
- Bridge 1 (morning): cross early so you can drive one bank while the day is fresh and the light is good.
- Bridge 2 (midday): cross near your lunch town. This resets the scenery and gives you options if one side has better food or parks.
- Bridge 3 (late afternoon): cross again to aim yourself home without abandoning the water too soon.
When you are scouting bridge stops, look for:
- Bridge-adjacent parks (often a “Riverfront Park” or “Boat Launch”)
- Old downtown grids where the bridge lands, which usually means coffee, ice cream, or a diner within a few blocks
- Shoulders and pull-offs on the bridge approaches (do not stop on bridges unless it is a designated viewpoint)
Build the middle around dams
Dams and locks are itinerary gold because they behave like natural chapters. Even if you do not care about engineering, they create places where people have already built overlooks, pull-outs, and interpretive signs.
How to safely plan a dam stop
- Confirm public access: many dams have a designated viewing area or visitor lot, but not all allow wandering.
- Expect closures: maintenance happens. Have a backup crossing upstream or downstream.
- Plan a time buffer: you will stop longer than you think, especially if there is a trail or a scenic overlook.
What to look for nearby
- Tailwater fishing areas (often have parking and restrooms)
- Canal paths near locks
- Levee-top routes that give you big-sky views
On many U.S. rivers, the U.S. Army Corps of Engineers manages recreation areas around certain dams, reservoirs, and lock systems. Their project pages can be helpful for checking access and rules: https://www.usace.army.mil/.
Choose picnic stops that work
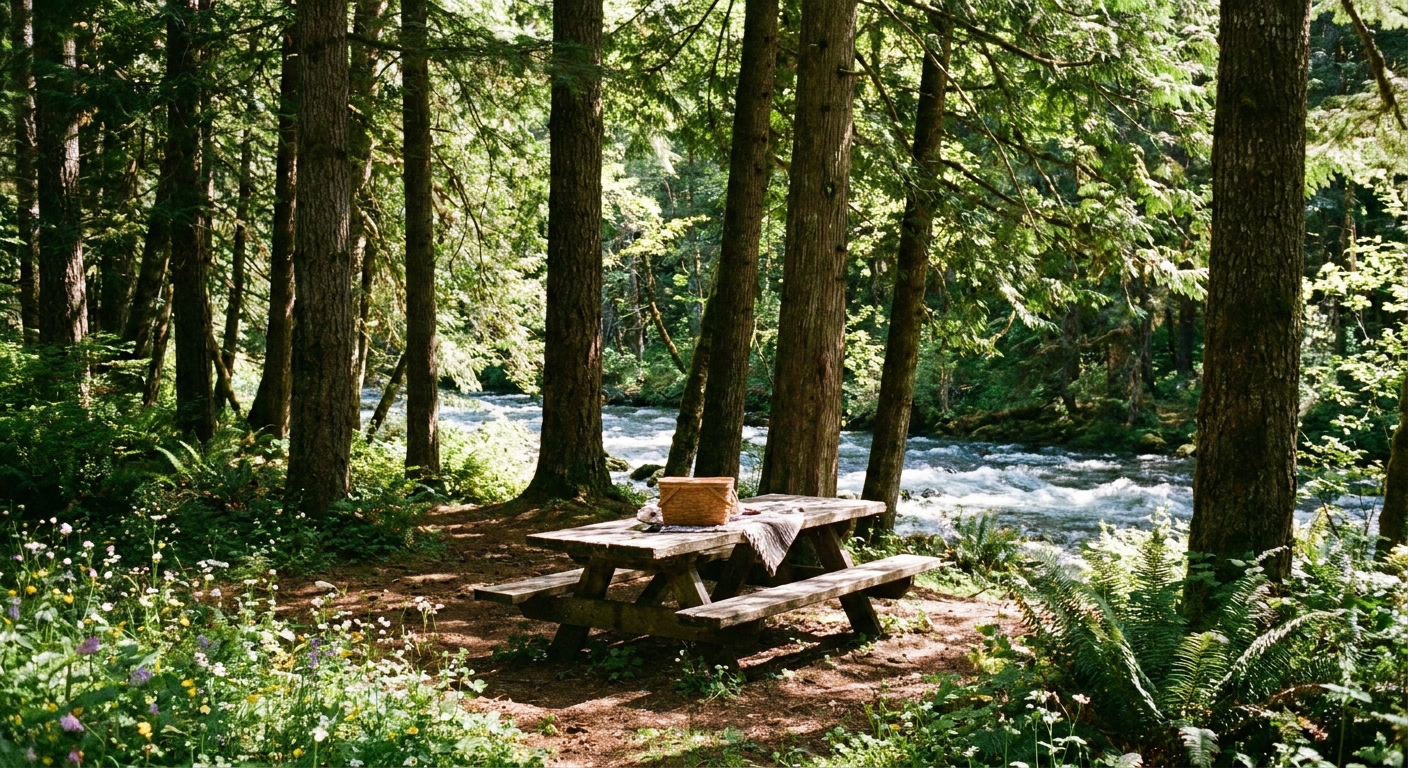
A good river road trip needs at least one real sit-down break where you hear the water and stop looking at your phone. I aim for two picnic moments: one short, one longer.
My picnic spot checklist
- Shade after 11 a.m. (trees, pavilion, or a bluff shadow)
- Bathrooms (vault toilets count, just know what you are getting)
- Easy in and out parking (no stress parallel parking when you are hungry)
- A short walk to the water (even 3 minutes makes it feel like an outing)
- Low-geese risk (look for spots without huge lawns right on the water)
My “sandwich math” is simple: pack one lunch that survives heat, bumps, and a little squish, like wraps, apples, and chips. Then treat yourself to a local dessert or coffee in whatever river town wins your heart.
If you like building food stops around a precise area, pair this with Find Hidden Gem Restaurants With a Zip Code to identify mom-and-pop options near your bridge crossings.
Pick a short features list
To keep the drive from turning into a blur of pretty water, I pick 4 to 6 features and pin them in a logical order. Think of them as your plot points.
Easy river features to map
- Bridge with a sidewalk for a quick leg stretch
- Dam or lock as the central anchor
- Boat ramp (often free or low-cost access, open views, good people-watching)
- Historic marker tied to the river, like a flood, ferry crossing, or mill site
- Scenic overlook from a bluff above the river bend
- Short trail (1 to 2 miles) for a reset
For quick history beats that fit neatly into river towns, I use the same approach as Find Historical Markers By Zip Code and focus specifically on riverfront plaques, old bridge sites, and canal remnants.
A day plan that works
Here is a river-following day that feels full without feeling rushed. Adjust the times to your daylight and your driving speed.
River Trace Day (sample schedule)
- 9:00 a.m.: Start at your anchor zip code. Grab coffee near the water if you can.
- 10:00 a.m.: First bridge crossing. Walk a block or two on the riverwalk or park path.
- 11:30 a.m.: Dam, lock, or overlook stop. This is your “big feature.”
- 12:30 p.m.: Lunch town near the river. Keep it casual so you stay flexible.
- 2:00 p.m.: Second bridge crossing. Swap banks to change the scenery.
- 3:00 p.m.: Picnic or dessert stop at a waterfront park.
- 4:30 p.m.: Final scenic pull-off or short trail.
- 5:30 p.m.: Third crossing or turn inland toward home.
If your drive is trending long, do not cut the water stop. Cut the extra town. The river is the whole point.
Season and signal tips
Rivers change personality by season, and so does your comfort level.
- Spring: the best greens, the highest odds of muddy shoulders and flooded low roads. Plan extra backup crossings.
- Summer: expect bugs and sun. Bring water, bug spray, and a hat, even if it feels breezy at the car door.
- Fall: foliage is unbeatable, but the low sun can make water glare intense. Sunglasses help, and so does planning your most scenic bank for the direction of travel.
Also, river valleys can mean spotty cell service. Before you leave your anchor zip code, download offline maps for the corridor or screenshot your key turns and bridge crossings.
Safety and etiquette
Rivers are dynamic, and the roads near them can be too. A little planning keeps your day relaxing.
- Flood awareness: low roads near rivers can flood fast. If a road is barricaded or covered, turn around. Do not “test” it.
- Soft shoulders: pull fully off the roadway and avoid parking on grass after rain.
- Bridge photos: never stop on a bridge unless there is a designated viewpoint or parking area.
- Private property: many tempting river access points are private. Use parks, boat launches, and signed public access.
- Restroom gaps: in rural stretches, restrooms can be rare. When you see a clean one, that is your cue.
- Mobility-friendly stops: if someone in your group needs flatter surfaces, prioritize paved riverwalks, fishing piers, and dam viewpoints with designated lots.
For river conditions, National Weather Service river gauges can be useful, especially in wet seasons: https://water.weather.gov/ahps/.
Keep it zip-code-driven
When I am building a river itinerary, I assign each major stop a “zip code label.” It keeps my map pins tidy and makes it easy to pivot mid-day.
My zip code labeling system
- Zip A: starting coffee and first river access
- Zip B: first bridge crossing and a short walk
- Zip C: dam or lock feature
- Zip D: lunch town
- Zip E: picnic park
- Zip F: last viewpoint before heading home
If you ever get stuck between “the city name” and “the river town on the sign,” this helps: City Name vs Zip Code Search. I use it constantly when a river runs through multiple little communities that share one mailing identity but feel totally different on the ground.
Add one quirky stop
Once the river route is set, I add one tiny quirky stop and one scenic stop to round it out. The river supplies the calm. The add-ons supply the stories.
- Quirky stop ideas: a small museum in a river town, a historic ferry site, an old mill, a weird roadside statue near the river highway
- Scenic stop ideas: a bluff overlook, a short boardwalk, a state park viewpoint, a sunset bend in the river
If you want help finding the oddball moments without losing the thread, Mapping Quirky Roadside Attractions By Zip Code pairs nicely with a waterway route.
Troubleshooting
“My map keeps pulling me away from the river.”
Turn off highway preference if you can, and add a mid-route stop every 10 to 20 miles that is clearly on the riverbank. Bridges and boat launches work great as route anchors.
“There are no continuous roads right on the water.”
That is normal in sections with private land or steep bluffs. Use a pattern: river road segment, inland connector, river road segment. Aim for frequent re-entries to the water rather than perfection.
“The riverfront is industrial for a long stretch.”
Decide if you want that vibe. Some industrial waterfronts have excellent viewpoints and surprisingly good food nearby. If you do not, hop to the other bank or jump to a park system upstream.
“We want more walking, less driving.”
Choose one river town as your hub and build a self-guided riverwalk plus short drives to a dam and a picnic park. If you like the walking-tour approach, adapt the method in Map a Self Guided Walking Tour With Zip Code Boundaries and keep the river as your main “street.”
One last Leah tip
If your river has rapids, a spillway, a falls park, or even just a rocky bend where the current talks back, make that your final stop. After a full day of tracing the waterway, it is the perfect closer: you started by following the river, and you end by listening to it.
When you build your first river route this way, you will start seeing your region differently. Not as a handful of big attractions, but as connected corridors with their own rhythm, one zip code at a time.